There are several cases where chatting can be done in a desktop environment application. As Qiscus is not able to provide support to native programming languages like C#, we are not able to fully implement this at the moment. But no worries!
In Qiscus, we make things easier. In order to do the above, we can use Electron to help us create native applications with web technologies like JavaScript, HTML, and CSS. It allows us to take care of the hard parts to convert web technology to native, so you can focus on building the core of your application using technology you are already familiar with.
In this article, we will guide you in creating a simple chat application using Electron in order to be able to port it to desktop application. Here are the steps you can follow:
1) Install CLI (Command Line Interface) for Electron application. If you have already installed it, then you can continue to step no 2. You can copy-paste the code below to your terminal:
npm install -g electron-forge
2) Create a new Electron app. You can utilize electron-forge , for example:
npx electron-forge init qiscus-sample-desktop
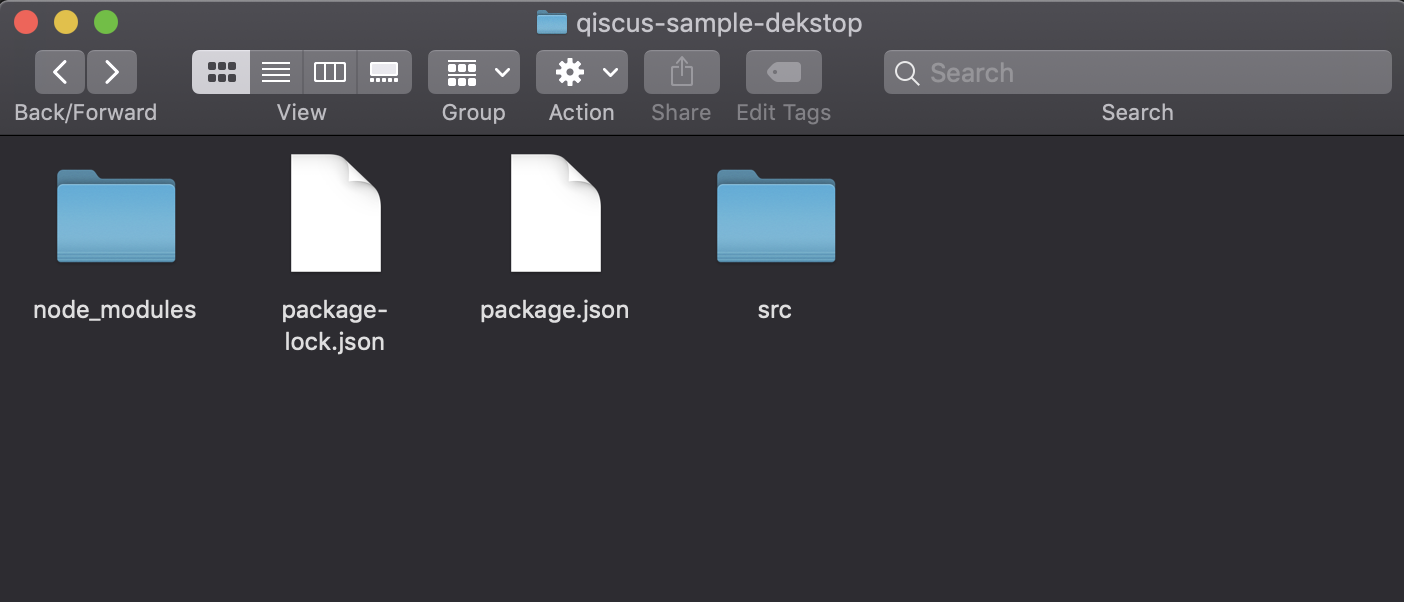
3) Put your project files in the src directory. For a start, you can copy-paste qiscus-chat-sdk-js-sample files into src directory. The files that you can copy and paste for this sample are, index.html, js, css, and img.
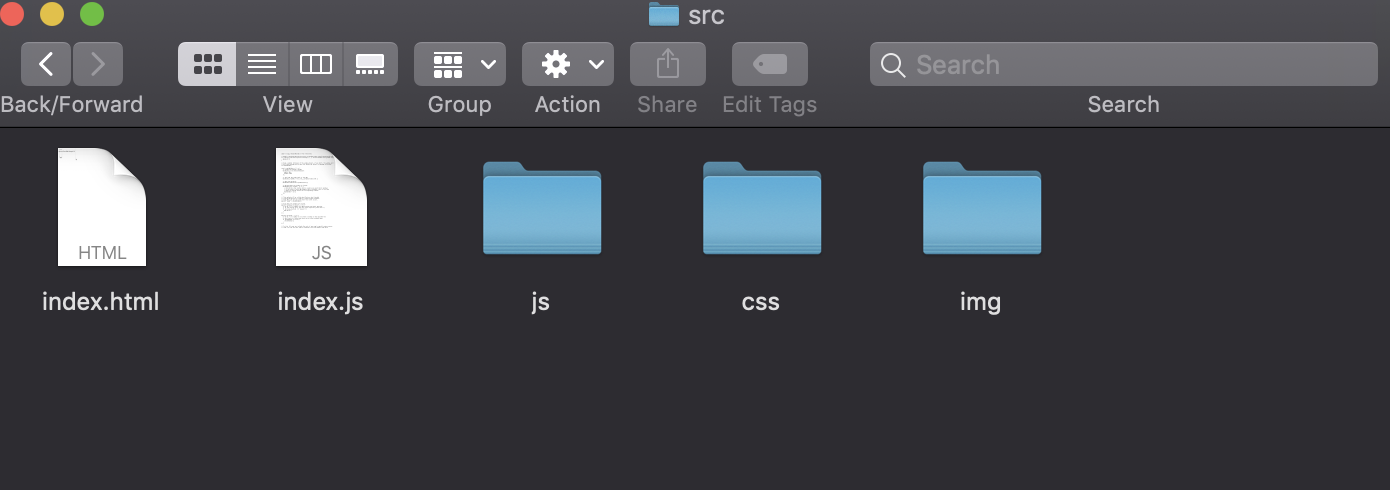
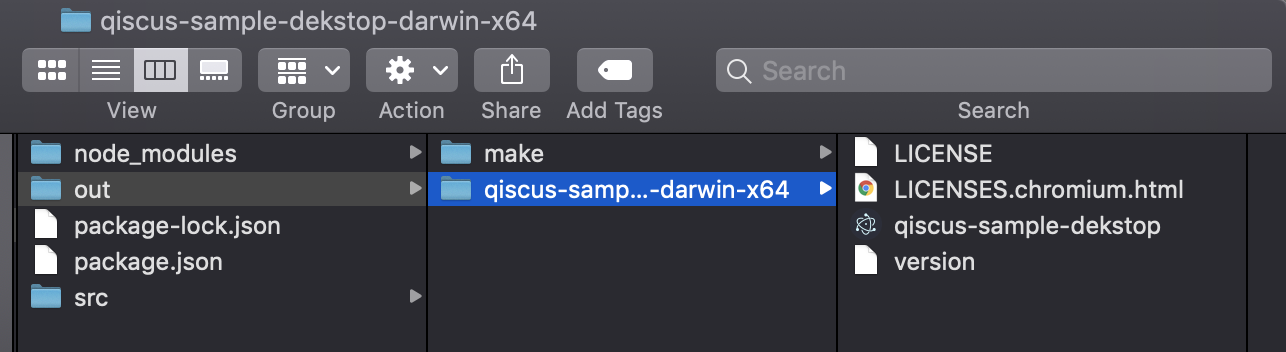
4) Open src folder as shown in Figure 1.0 below:
5) Copy-paste the related files into src.
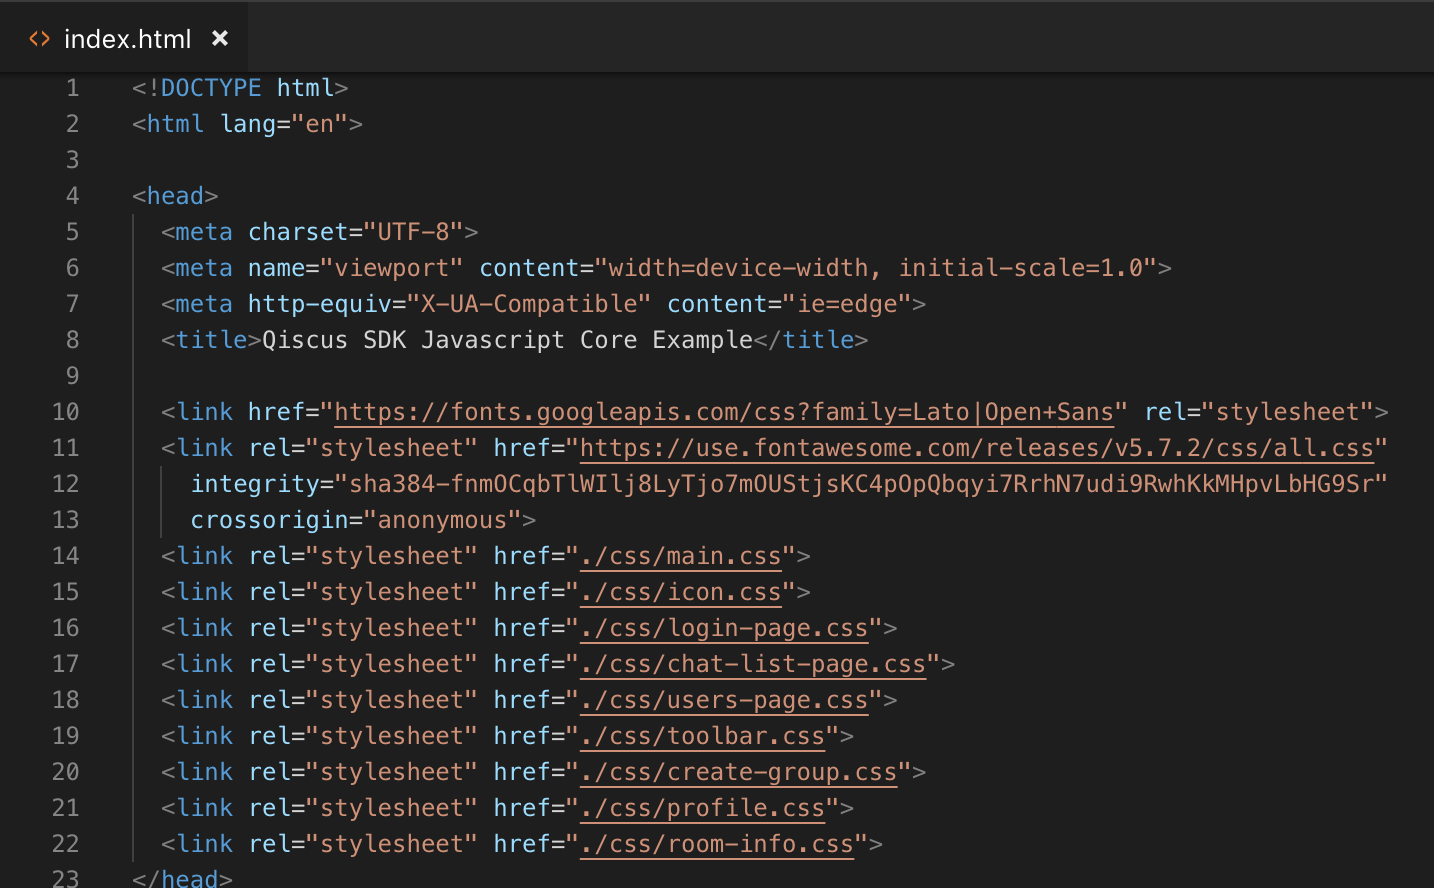
6) If you are directly copying and pasting our sample project files, you need to adjust the file references into a relative path. For example, in index.html change css/ into ./css/ , js/ into ./js/ and for the img, there are two parts.
Firstly, css file will need to be changed to /img into ../img.
Secondly, in js file, for example the login page, change /img into ./img. You can refer to the image below:


7) To run the app, you need to follow this code below:
electron-forge start
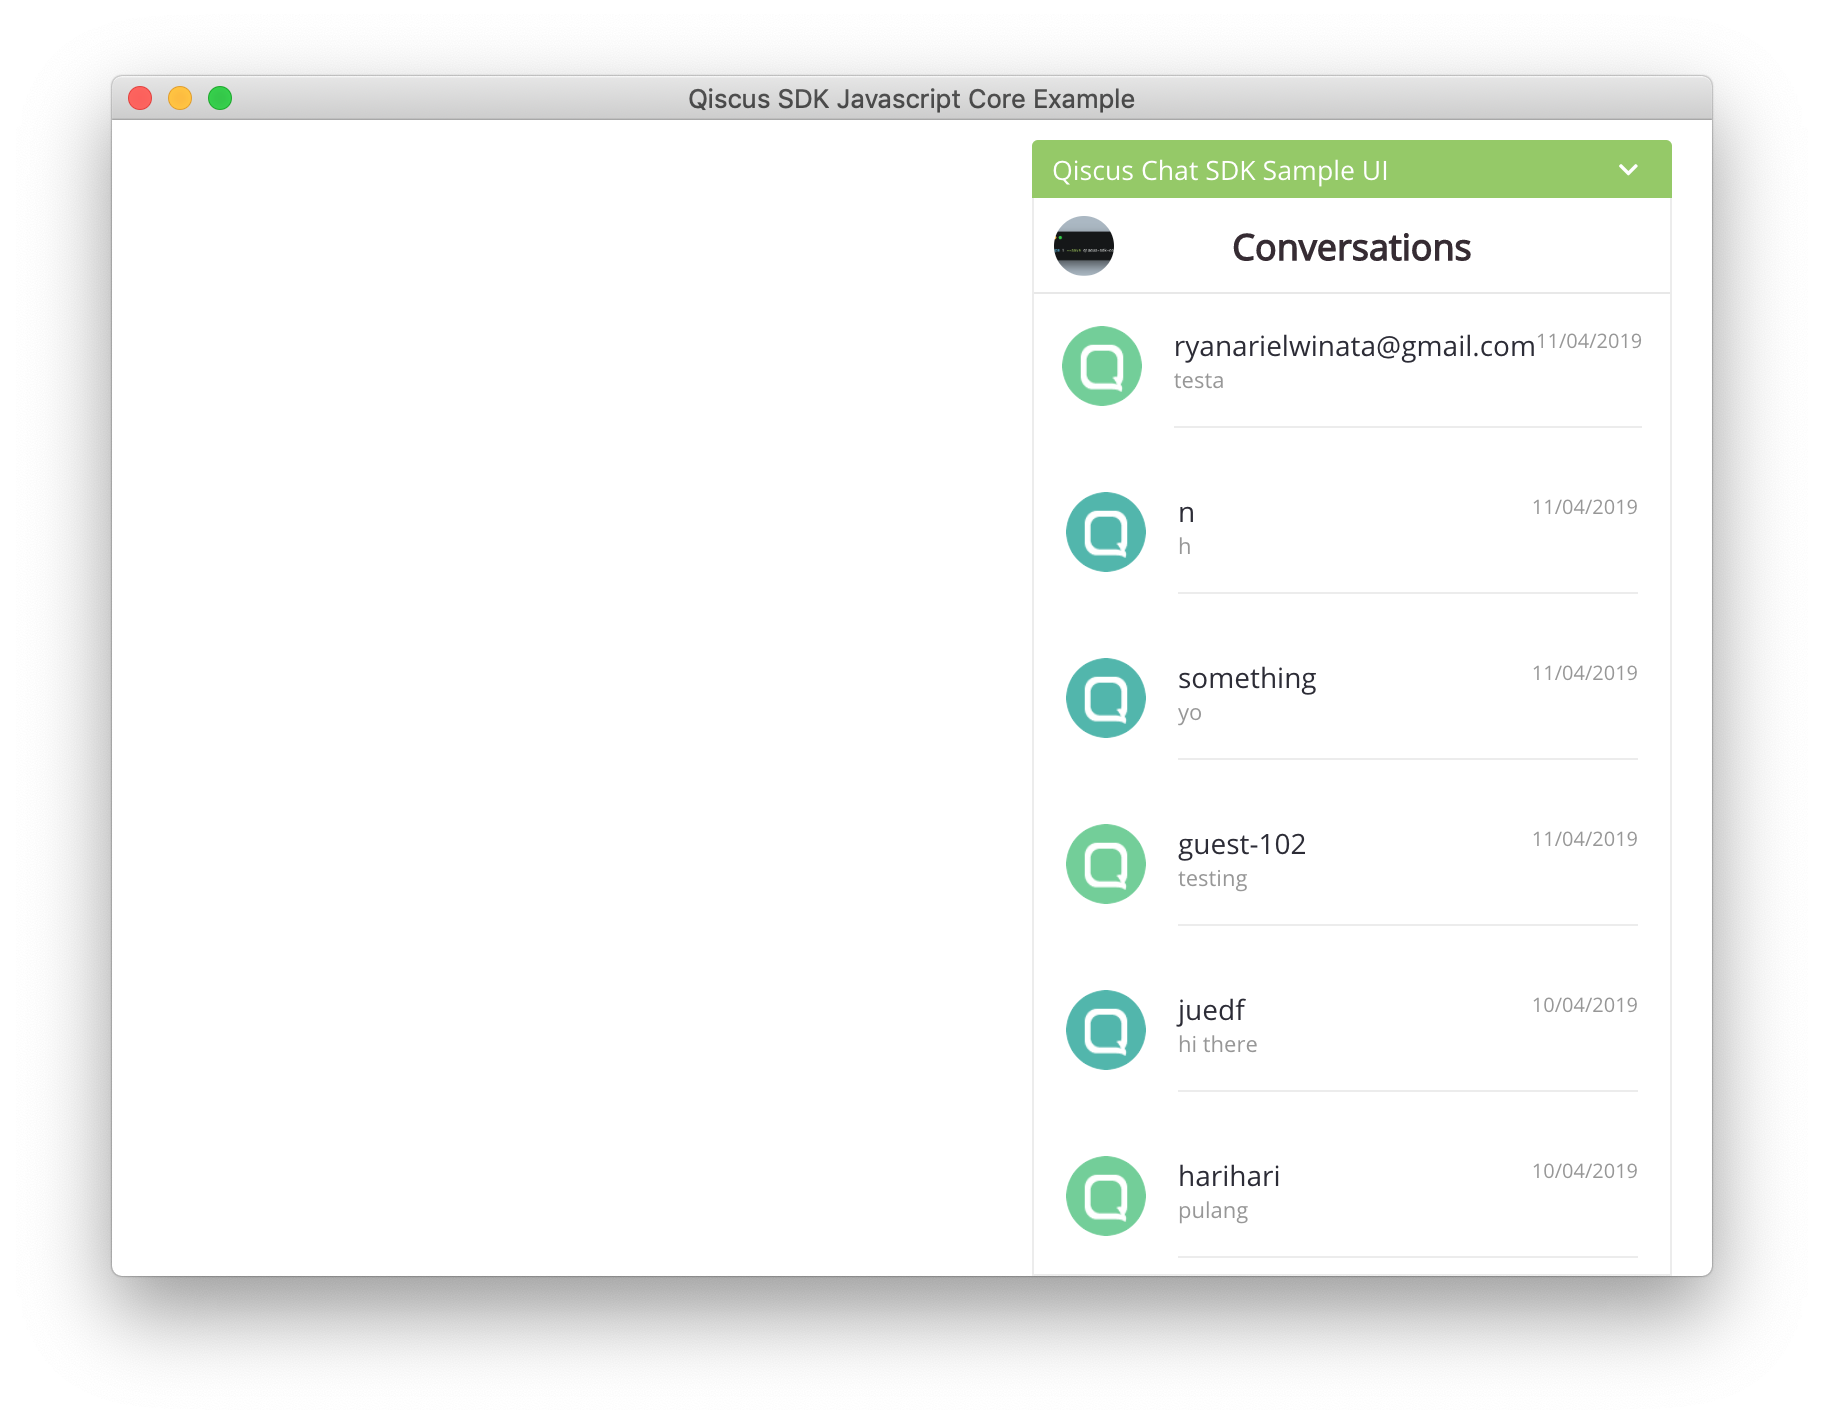
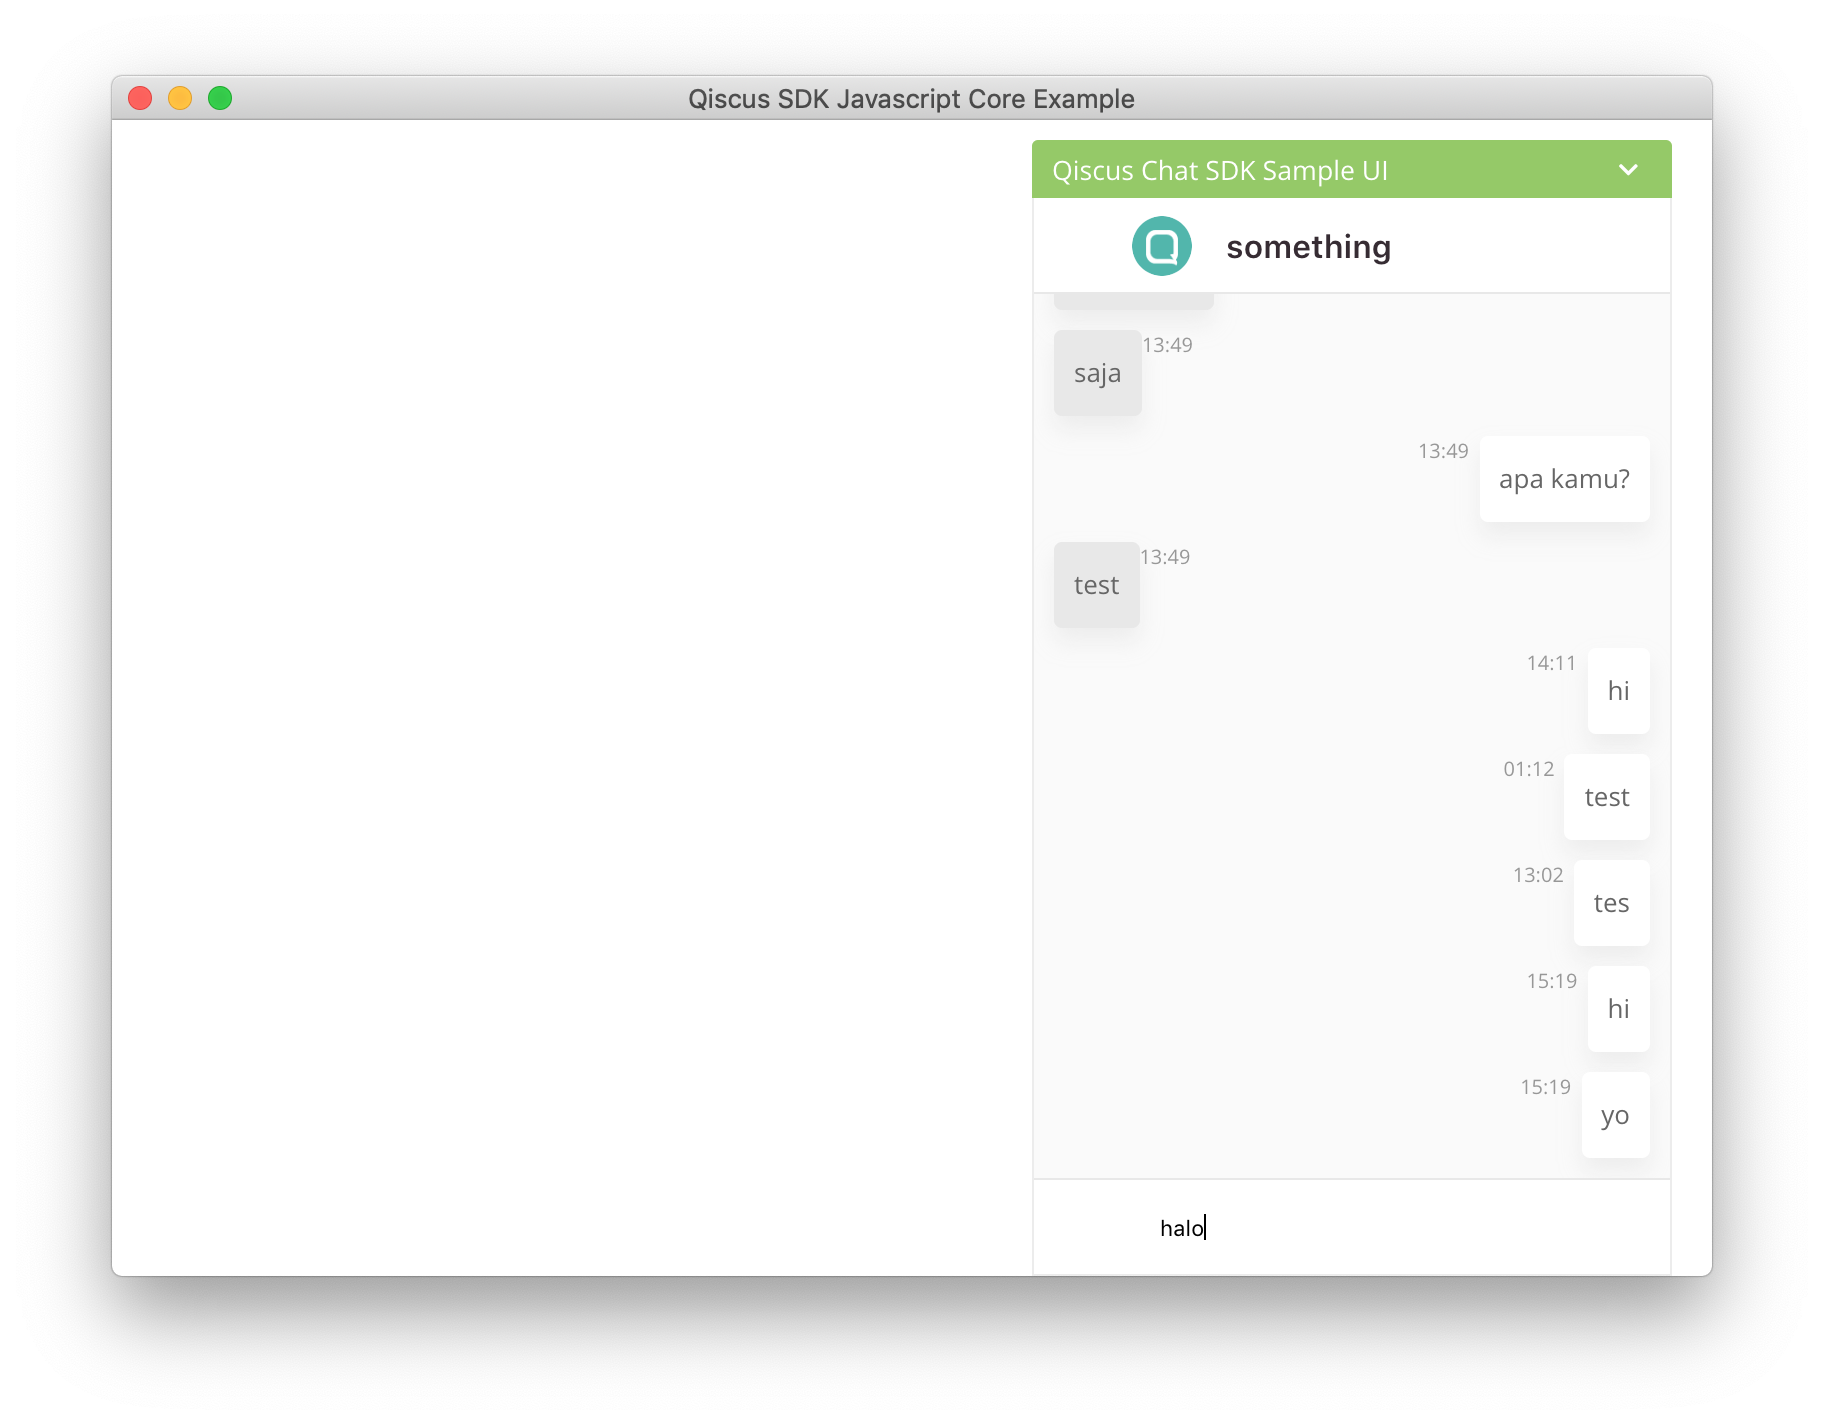
8) After running the app, Voila!
You will see now that your project can run in the desktop application. Here are some screen shots:

9) If you want to package/build the project into your target OS, you can run the code below:
npm run make
10) If you want to make an installer for the project, you can run the code below:
npm run package
If you follow the steps above, you will get something like this in the repository.
That’s all! If you have any further questions related to this article or even beyond that, Qiscus can assist you. Please do not hesitate to contact us at contact us.