By default, Qiscus Multichannel provides several channels that you can activate as your source of incoming messages. However, you might also require other channels to be used in your business flow. Let’s take Twitter Direct Message (Twitter DW) as an example. In order for you to enable this channel, you could make use of the Custom Channel feature in Qiscus Multichannel. In the Qiscus documentation, it states that:
The idea behind this custom channel is that you provide your own server to be hooked by messaging services (Telegram, Slack, WeChat, Email, SMS, etc) to send a message. The message will then be passed to Qiscus Multichannel CS Chat by your server to be gathered in the Qiscus Multichannel CS Chat dashboard.
In this article, we will cover on the topic of integrating Twitter DM into the Qiscus Multichannel CS Chat. It is important to note though that as this is an unofficial support from Qiscus Multichannel, you will still need to maintain your service by yourself. Let’s hope Qiscus Multichannel will include Twitter DM as a built-in channel in the future! Let’s get to the code.
First things first, in order to use Twitter DM as your new channel in Qiscus Multichannel, you need to have a Twitter Developer account since we will be using its Access Token in the process. You can register here: http://developer.twitter.com.
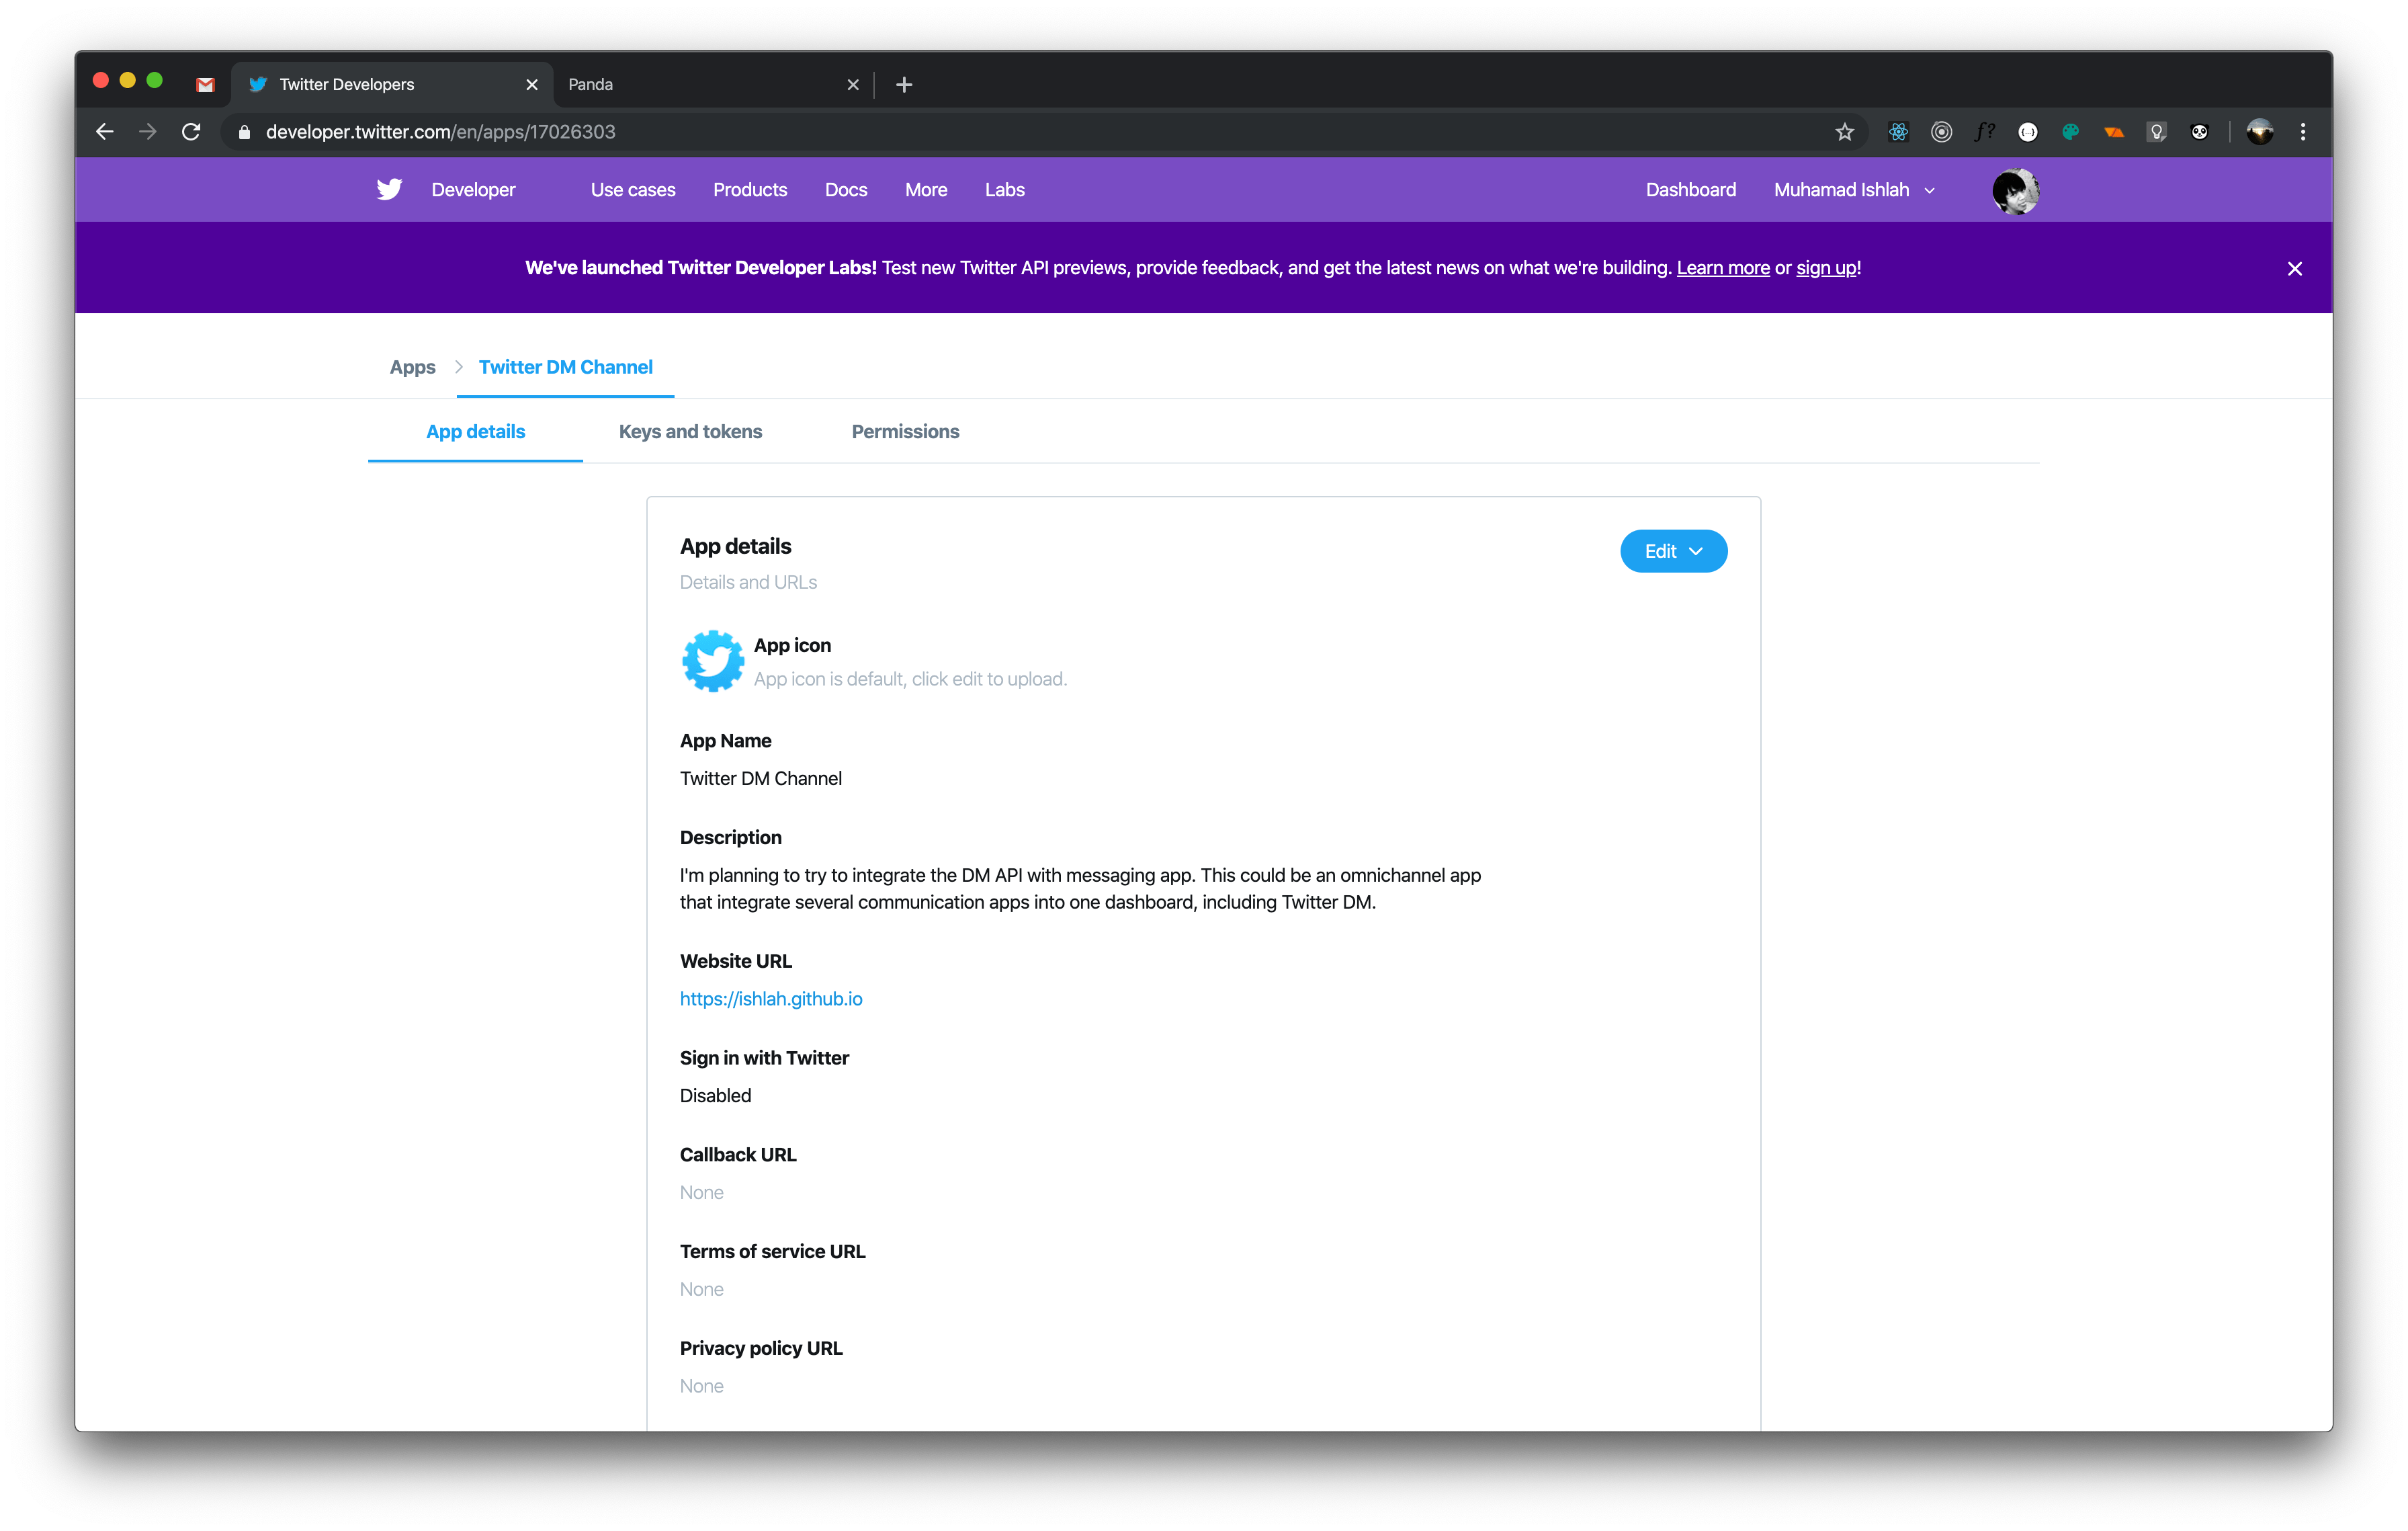
After you have registered as a developer in Twitter, you can create a new app. Fill in the forms as they suit your project. In this example, I named it “Twitter DM Channel.”
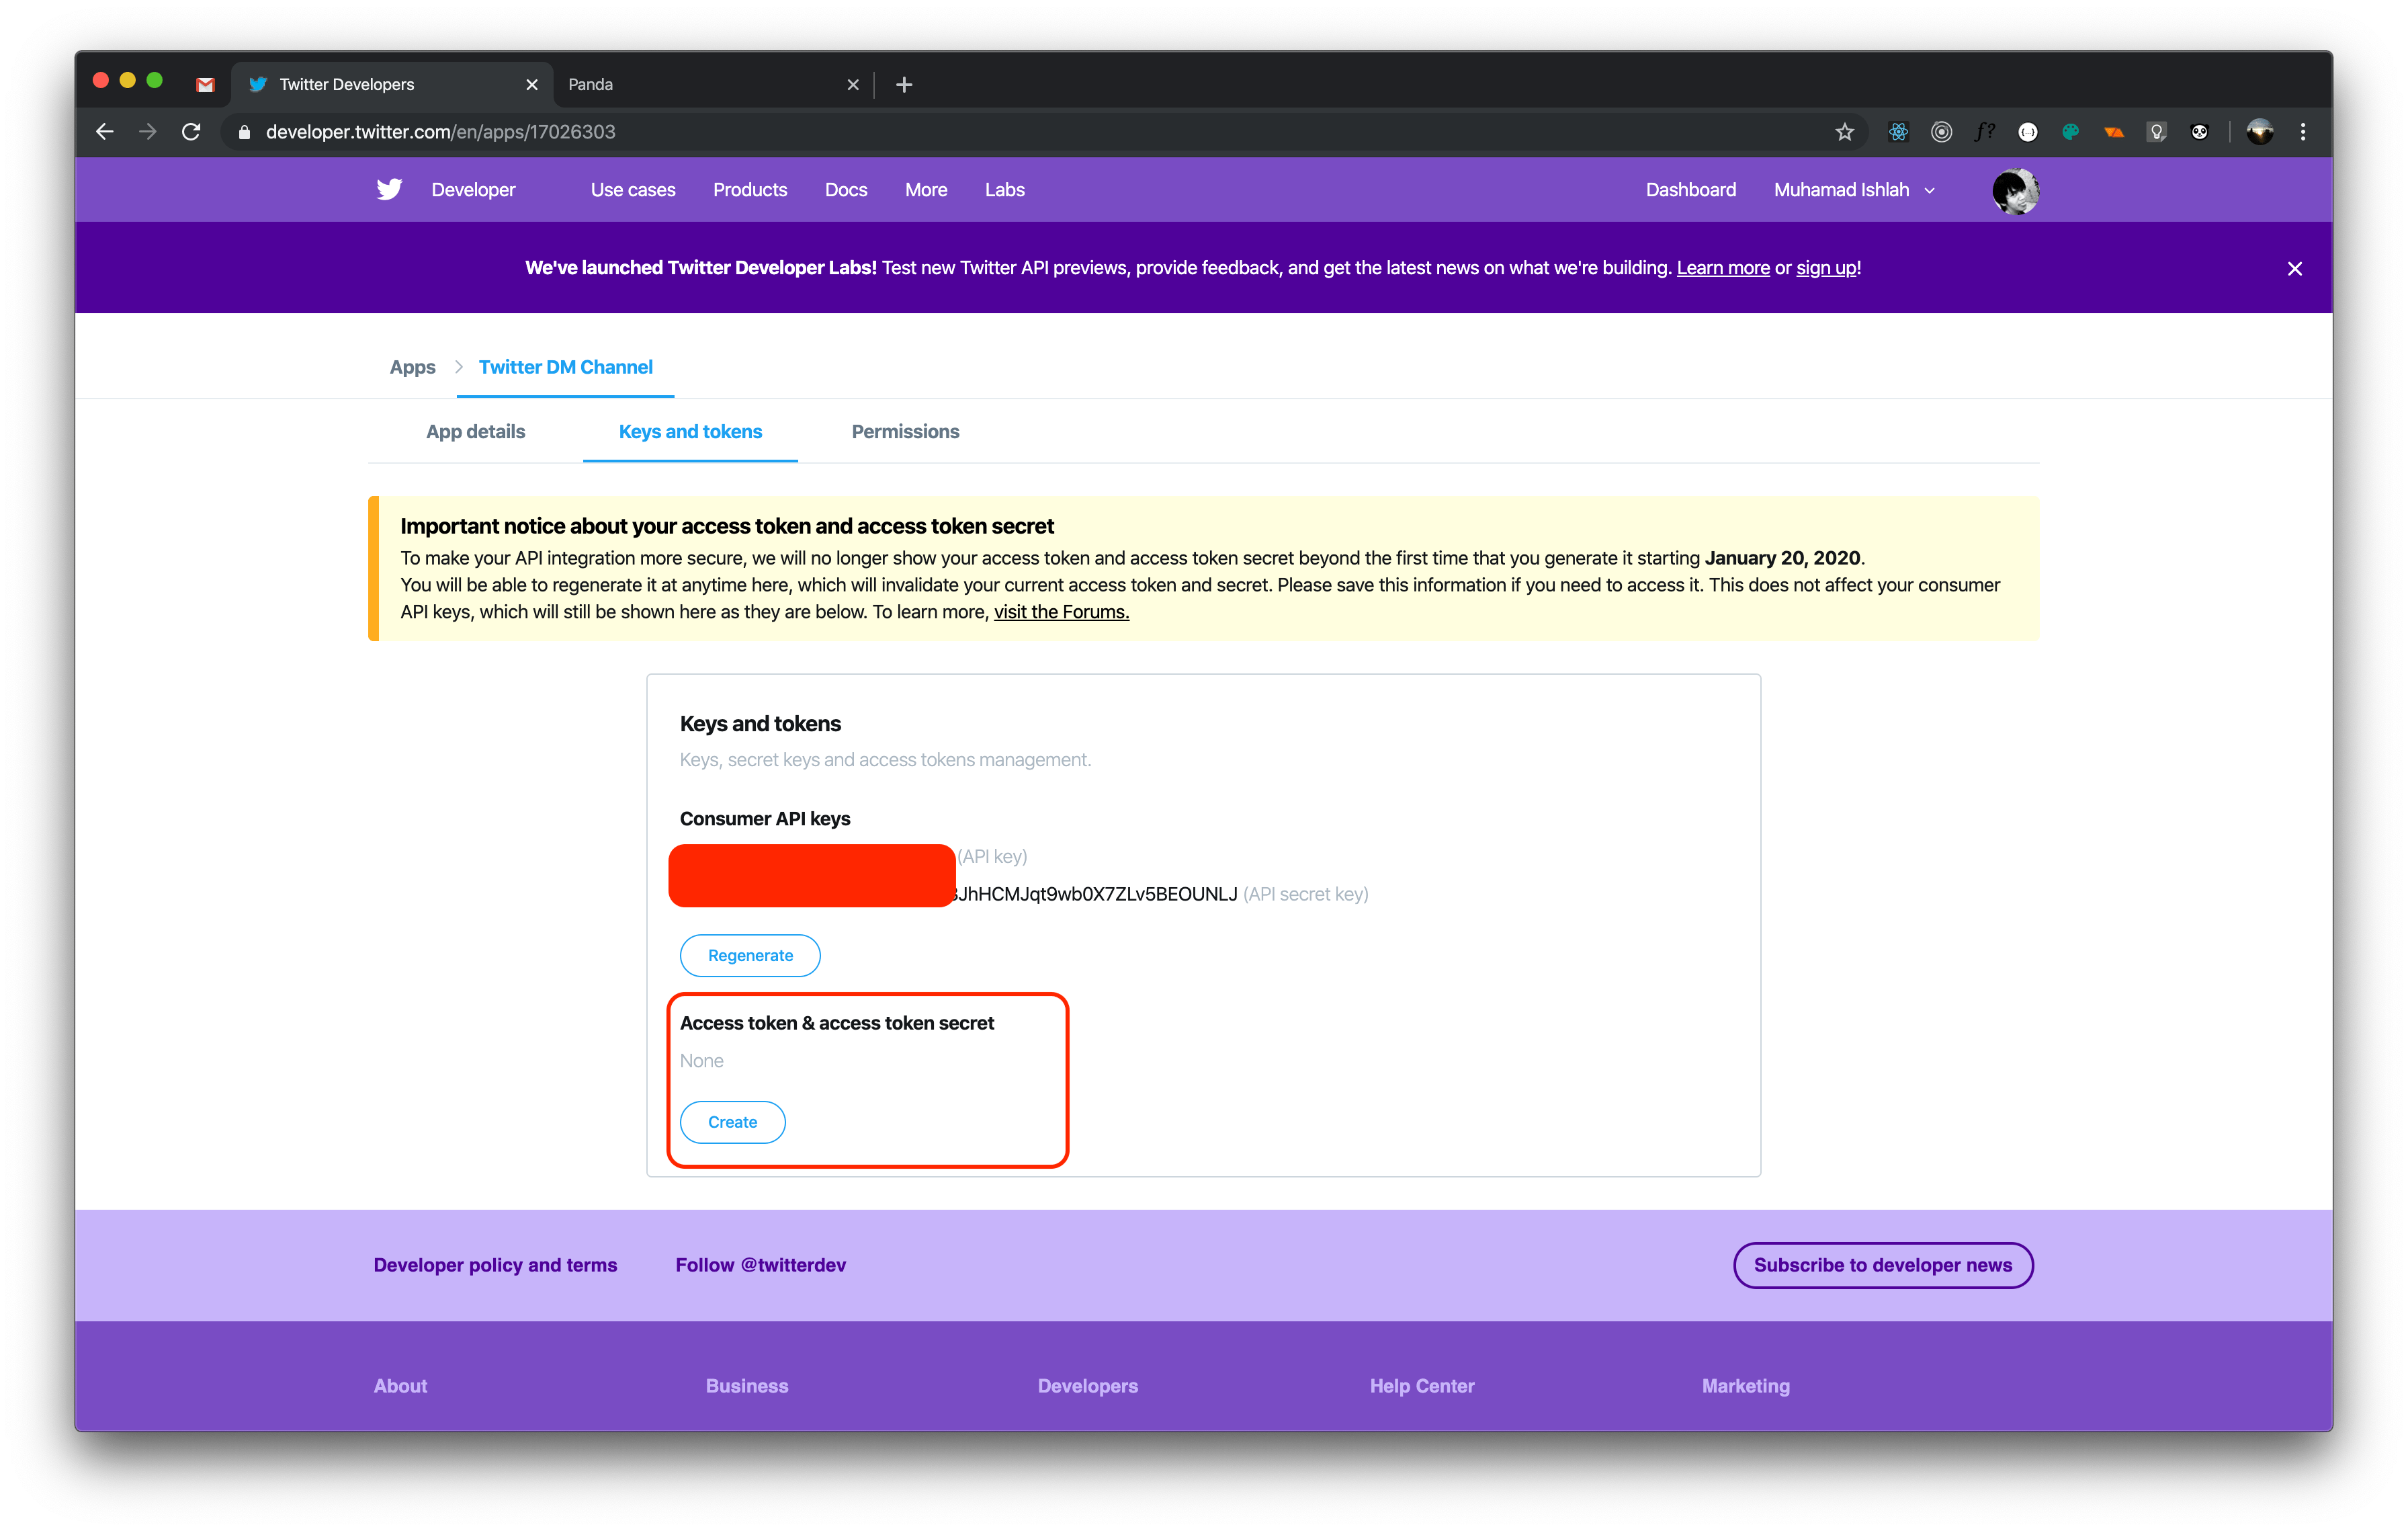
After that, go to the “Keys and Tokens” tab and generate access token. We will use it later in the intermediary service to connect between Twitter and Qiscus Multichannel.
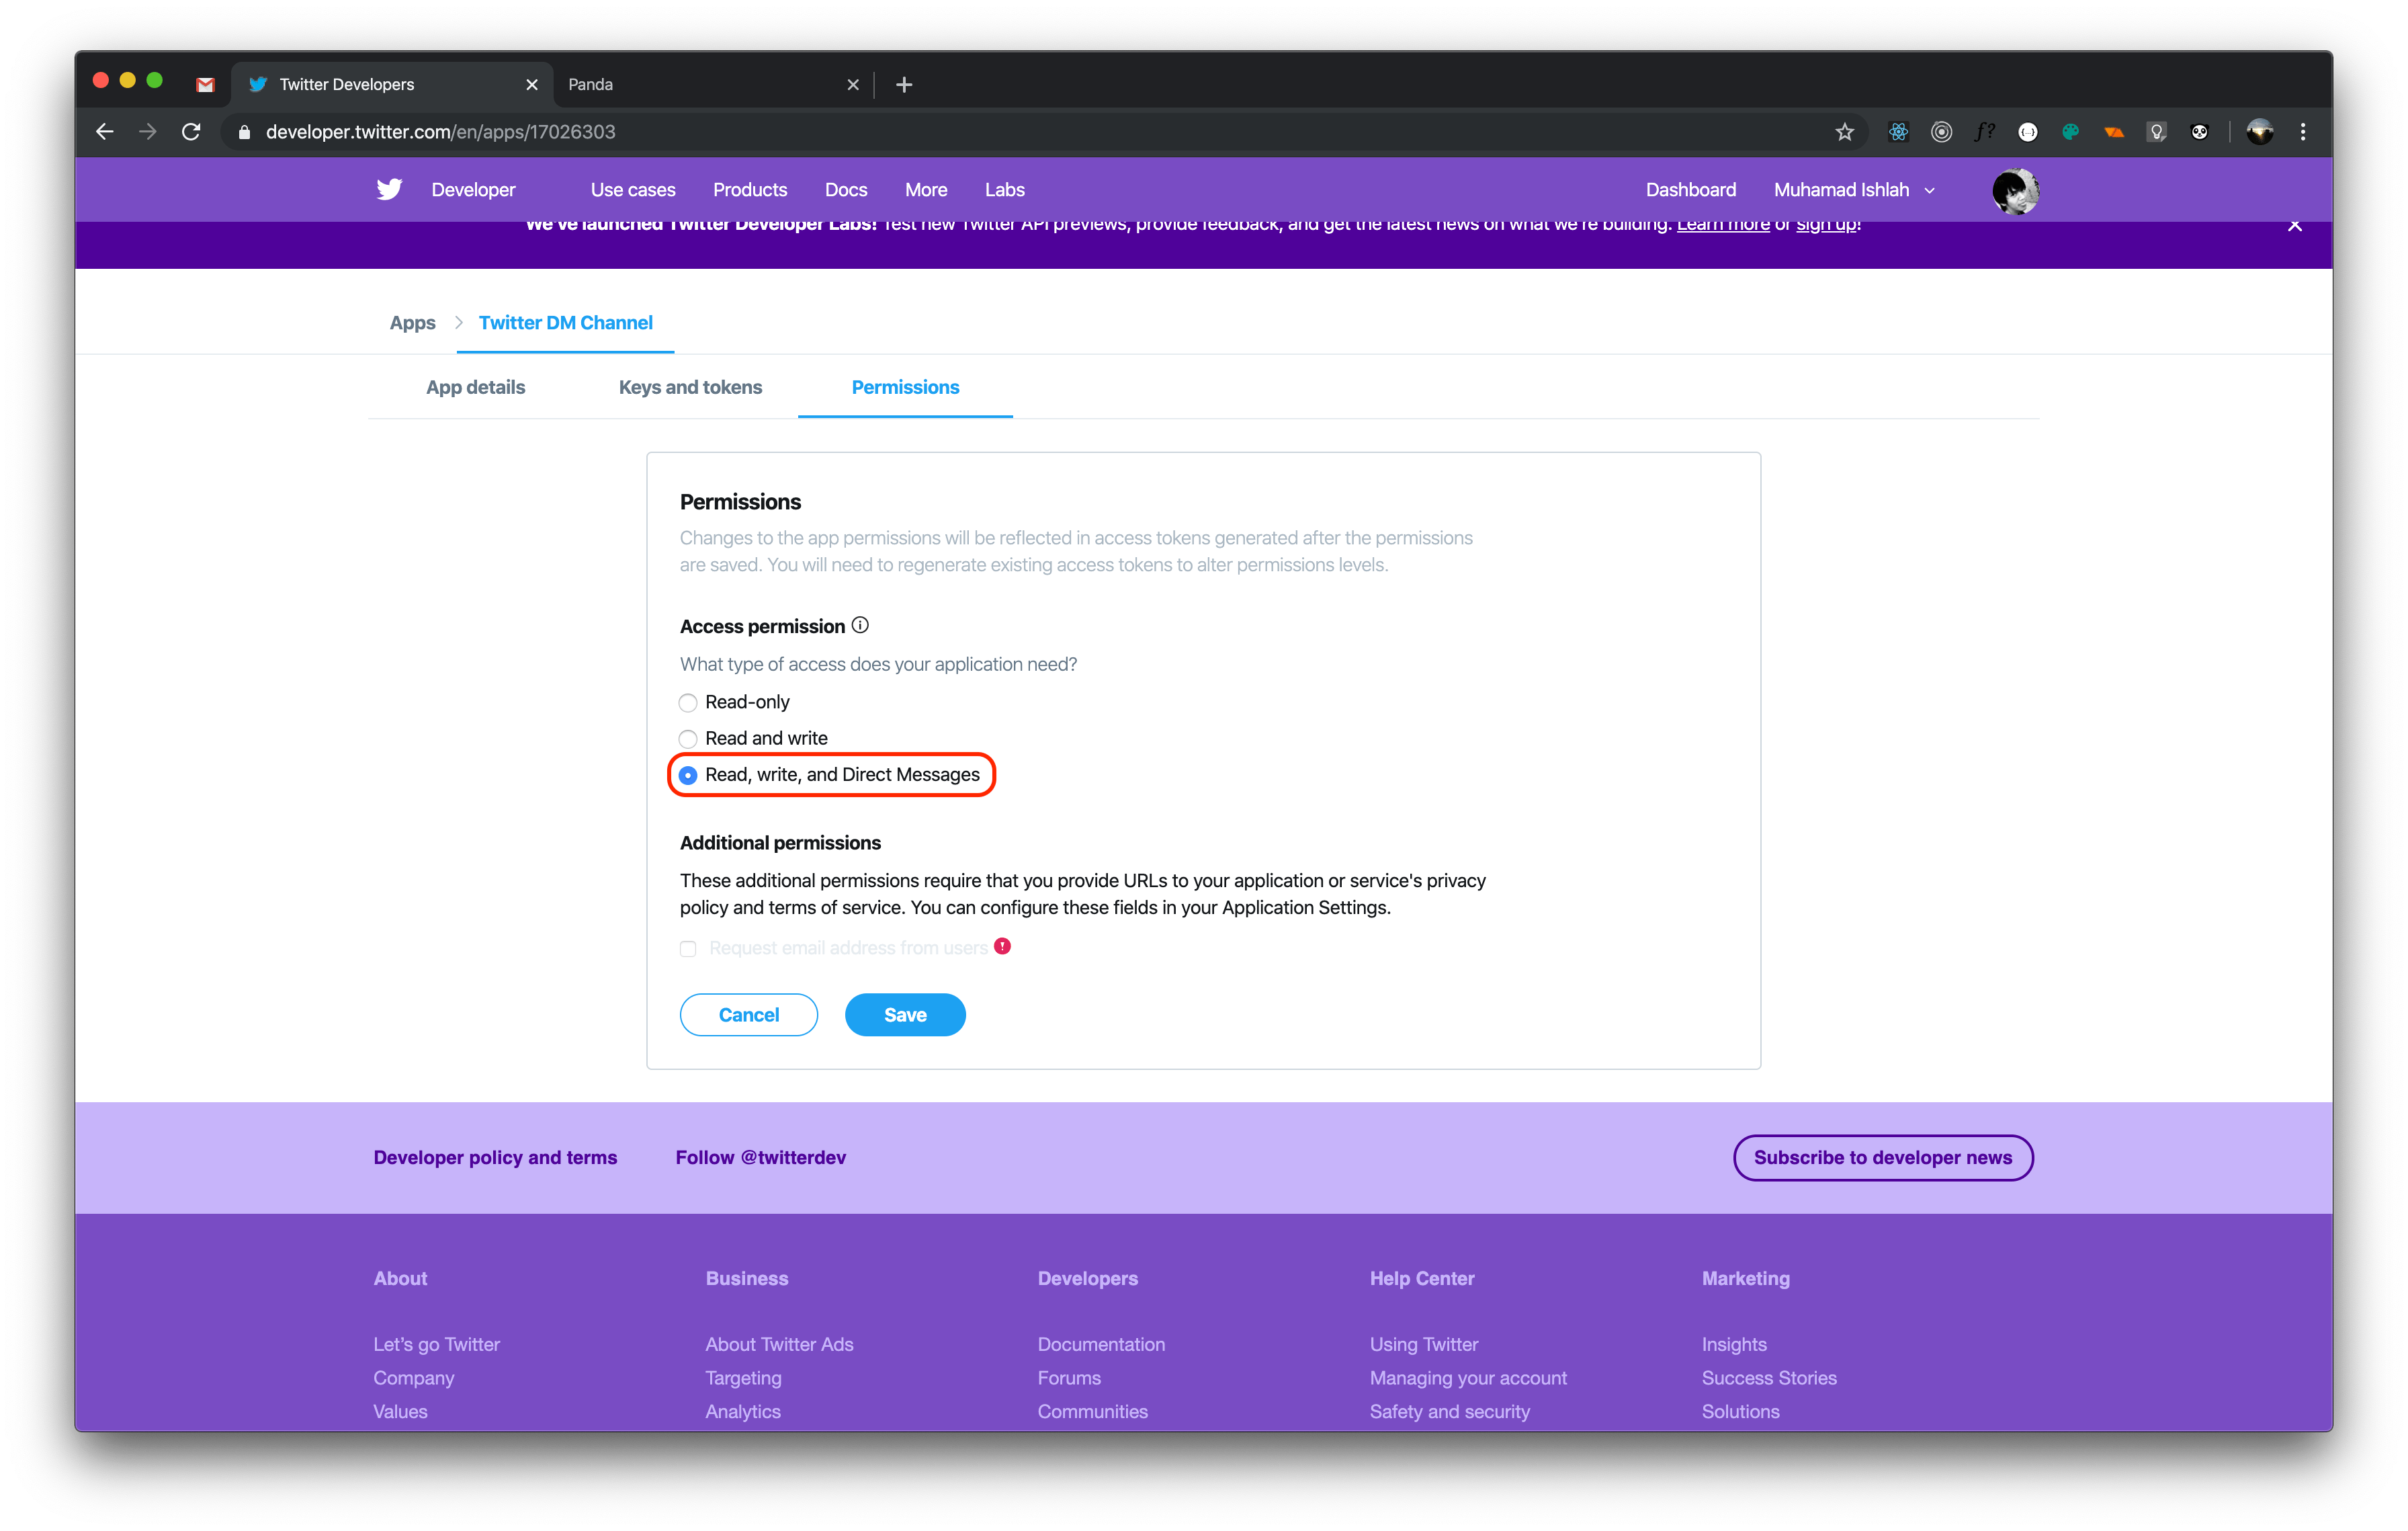
Next, you need to also change the permission access to include access to Direct Message API. Go to the Permissions tab and check the last option.
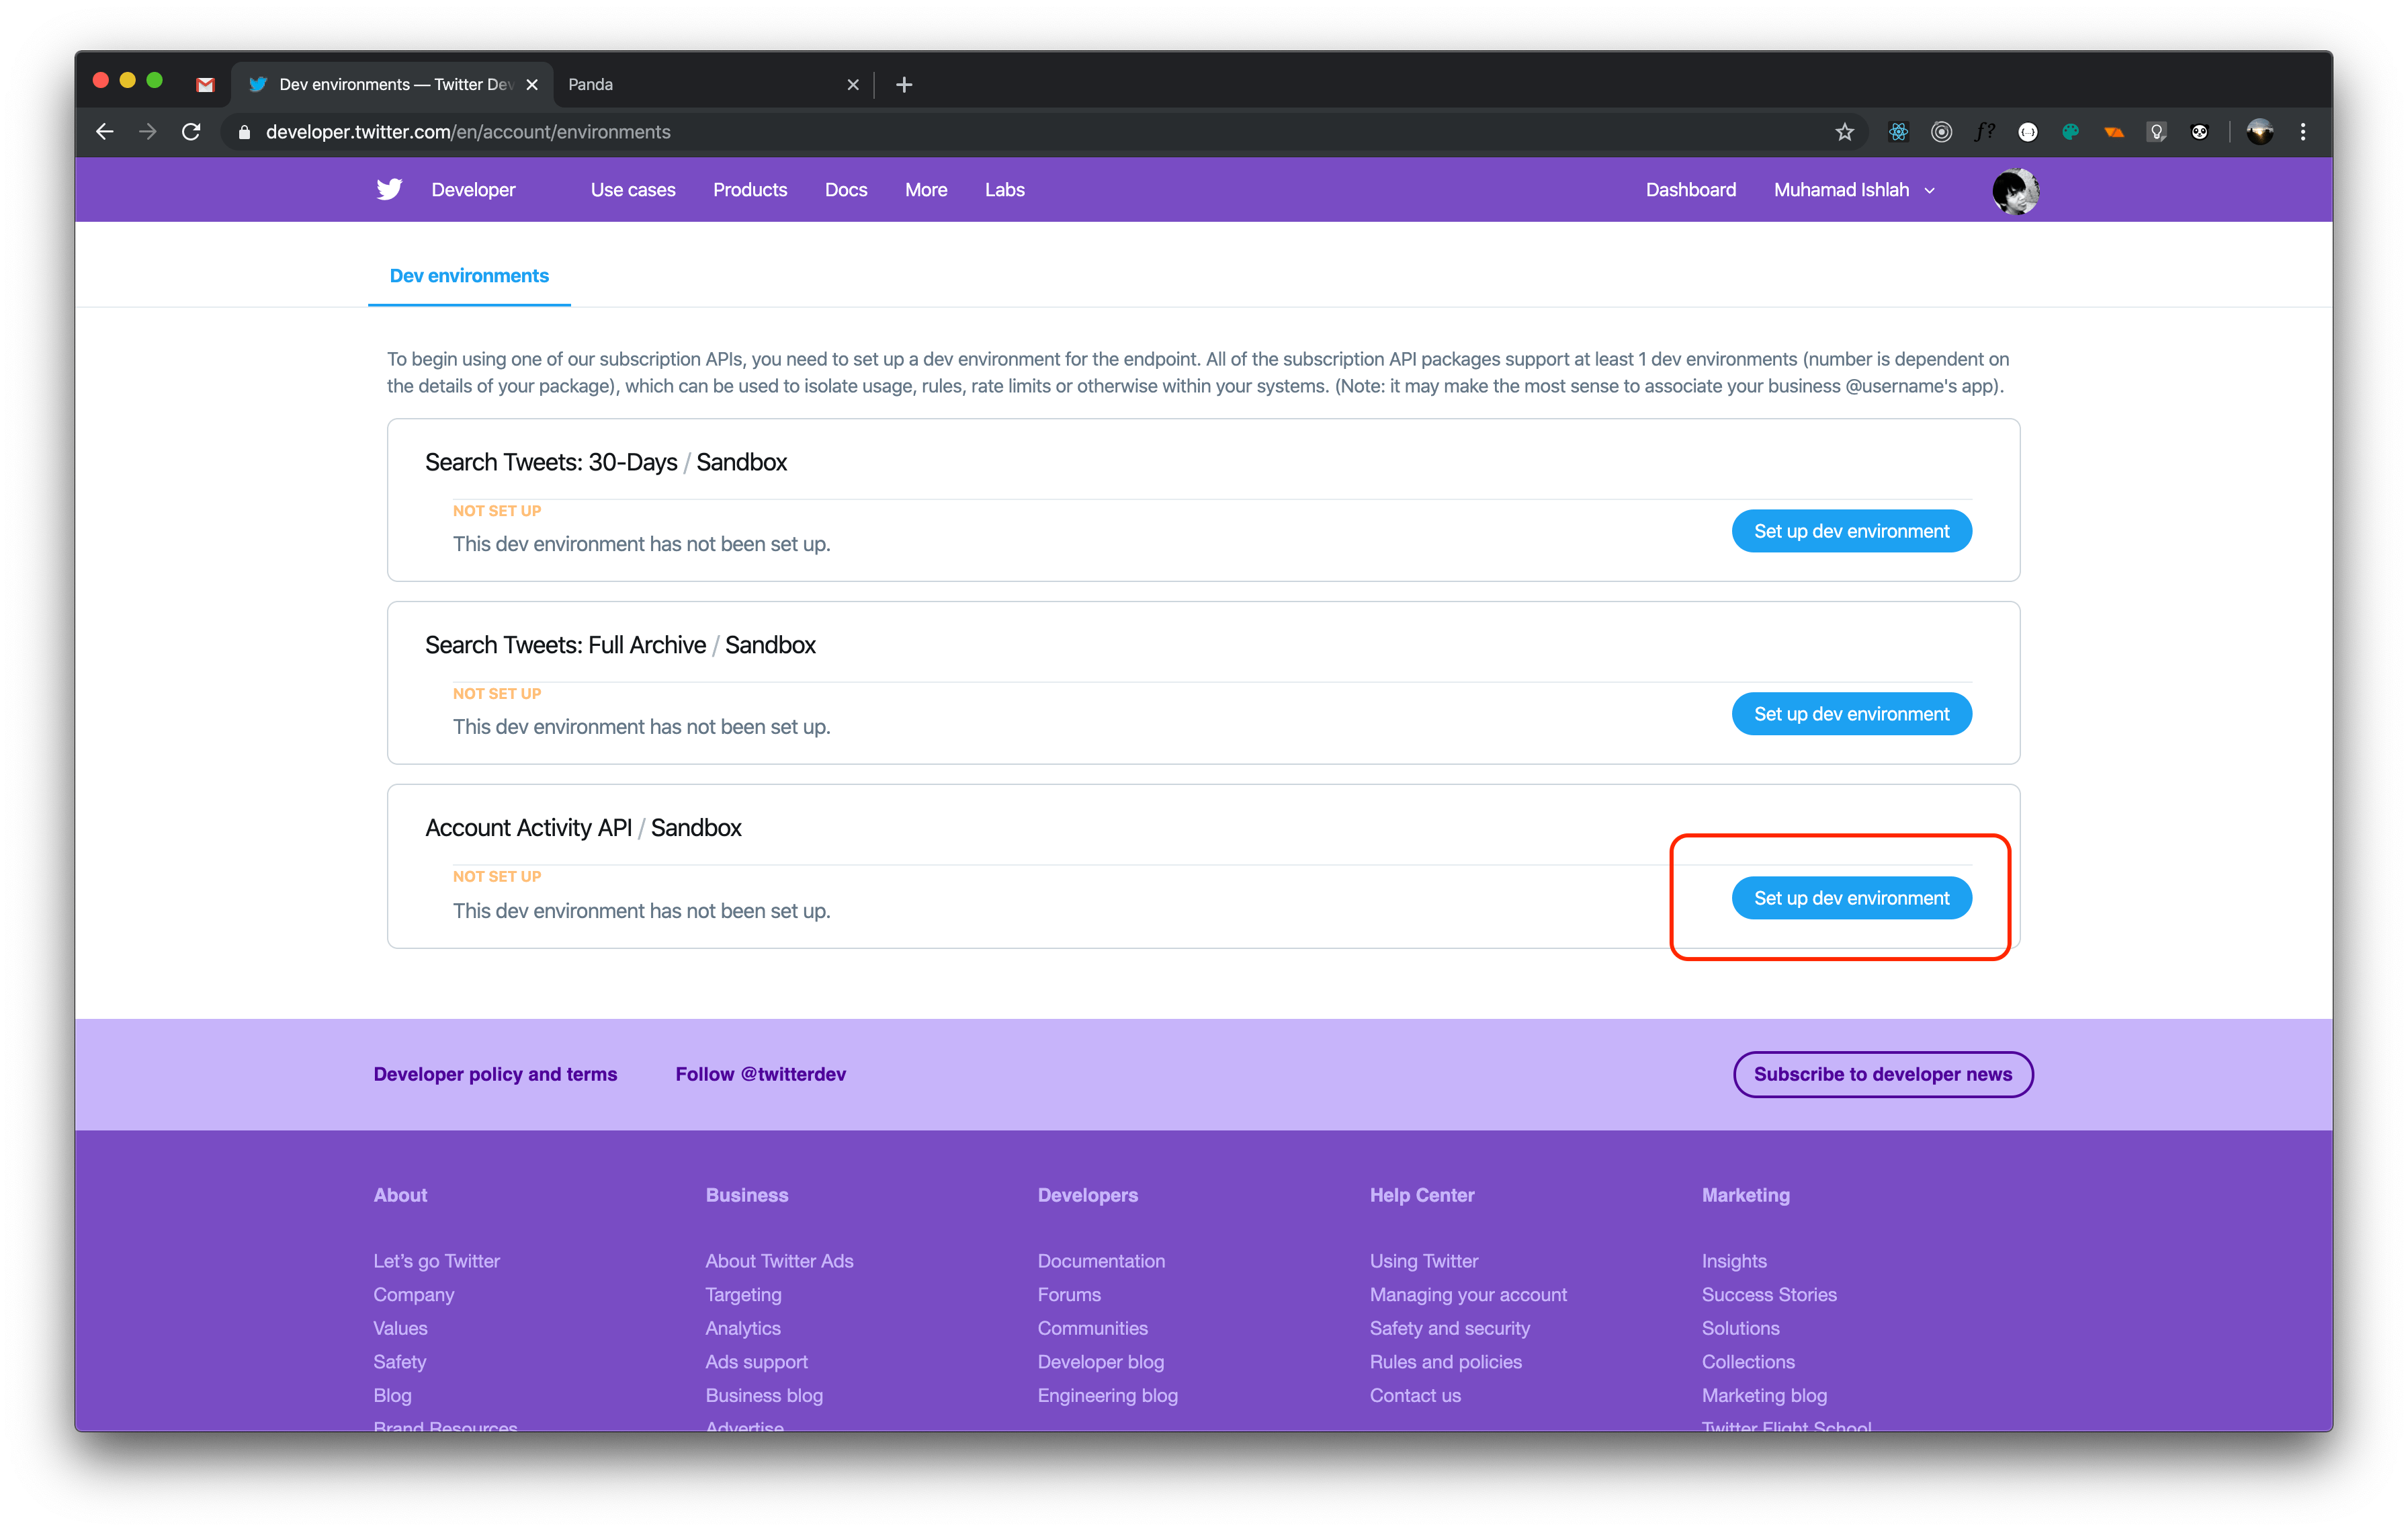
Last but not least, we need to set up a dev environment. Go to the Dev environments page and setup the Account Activity API dev environment.
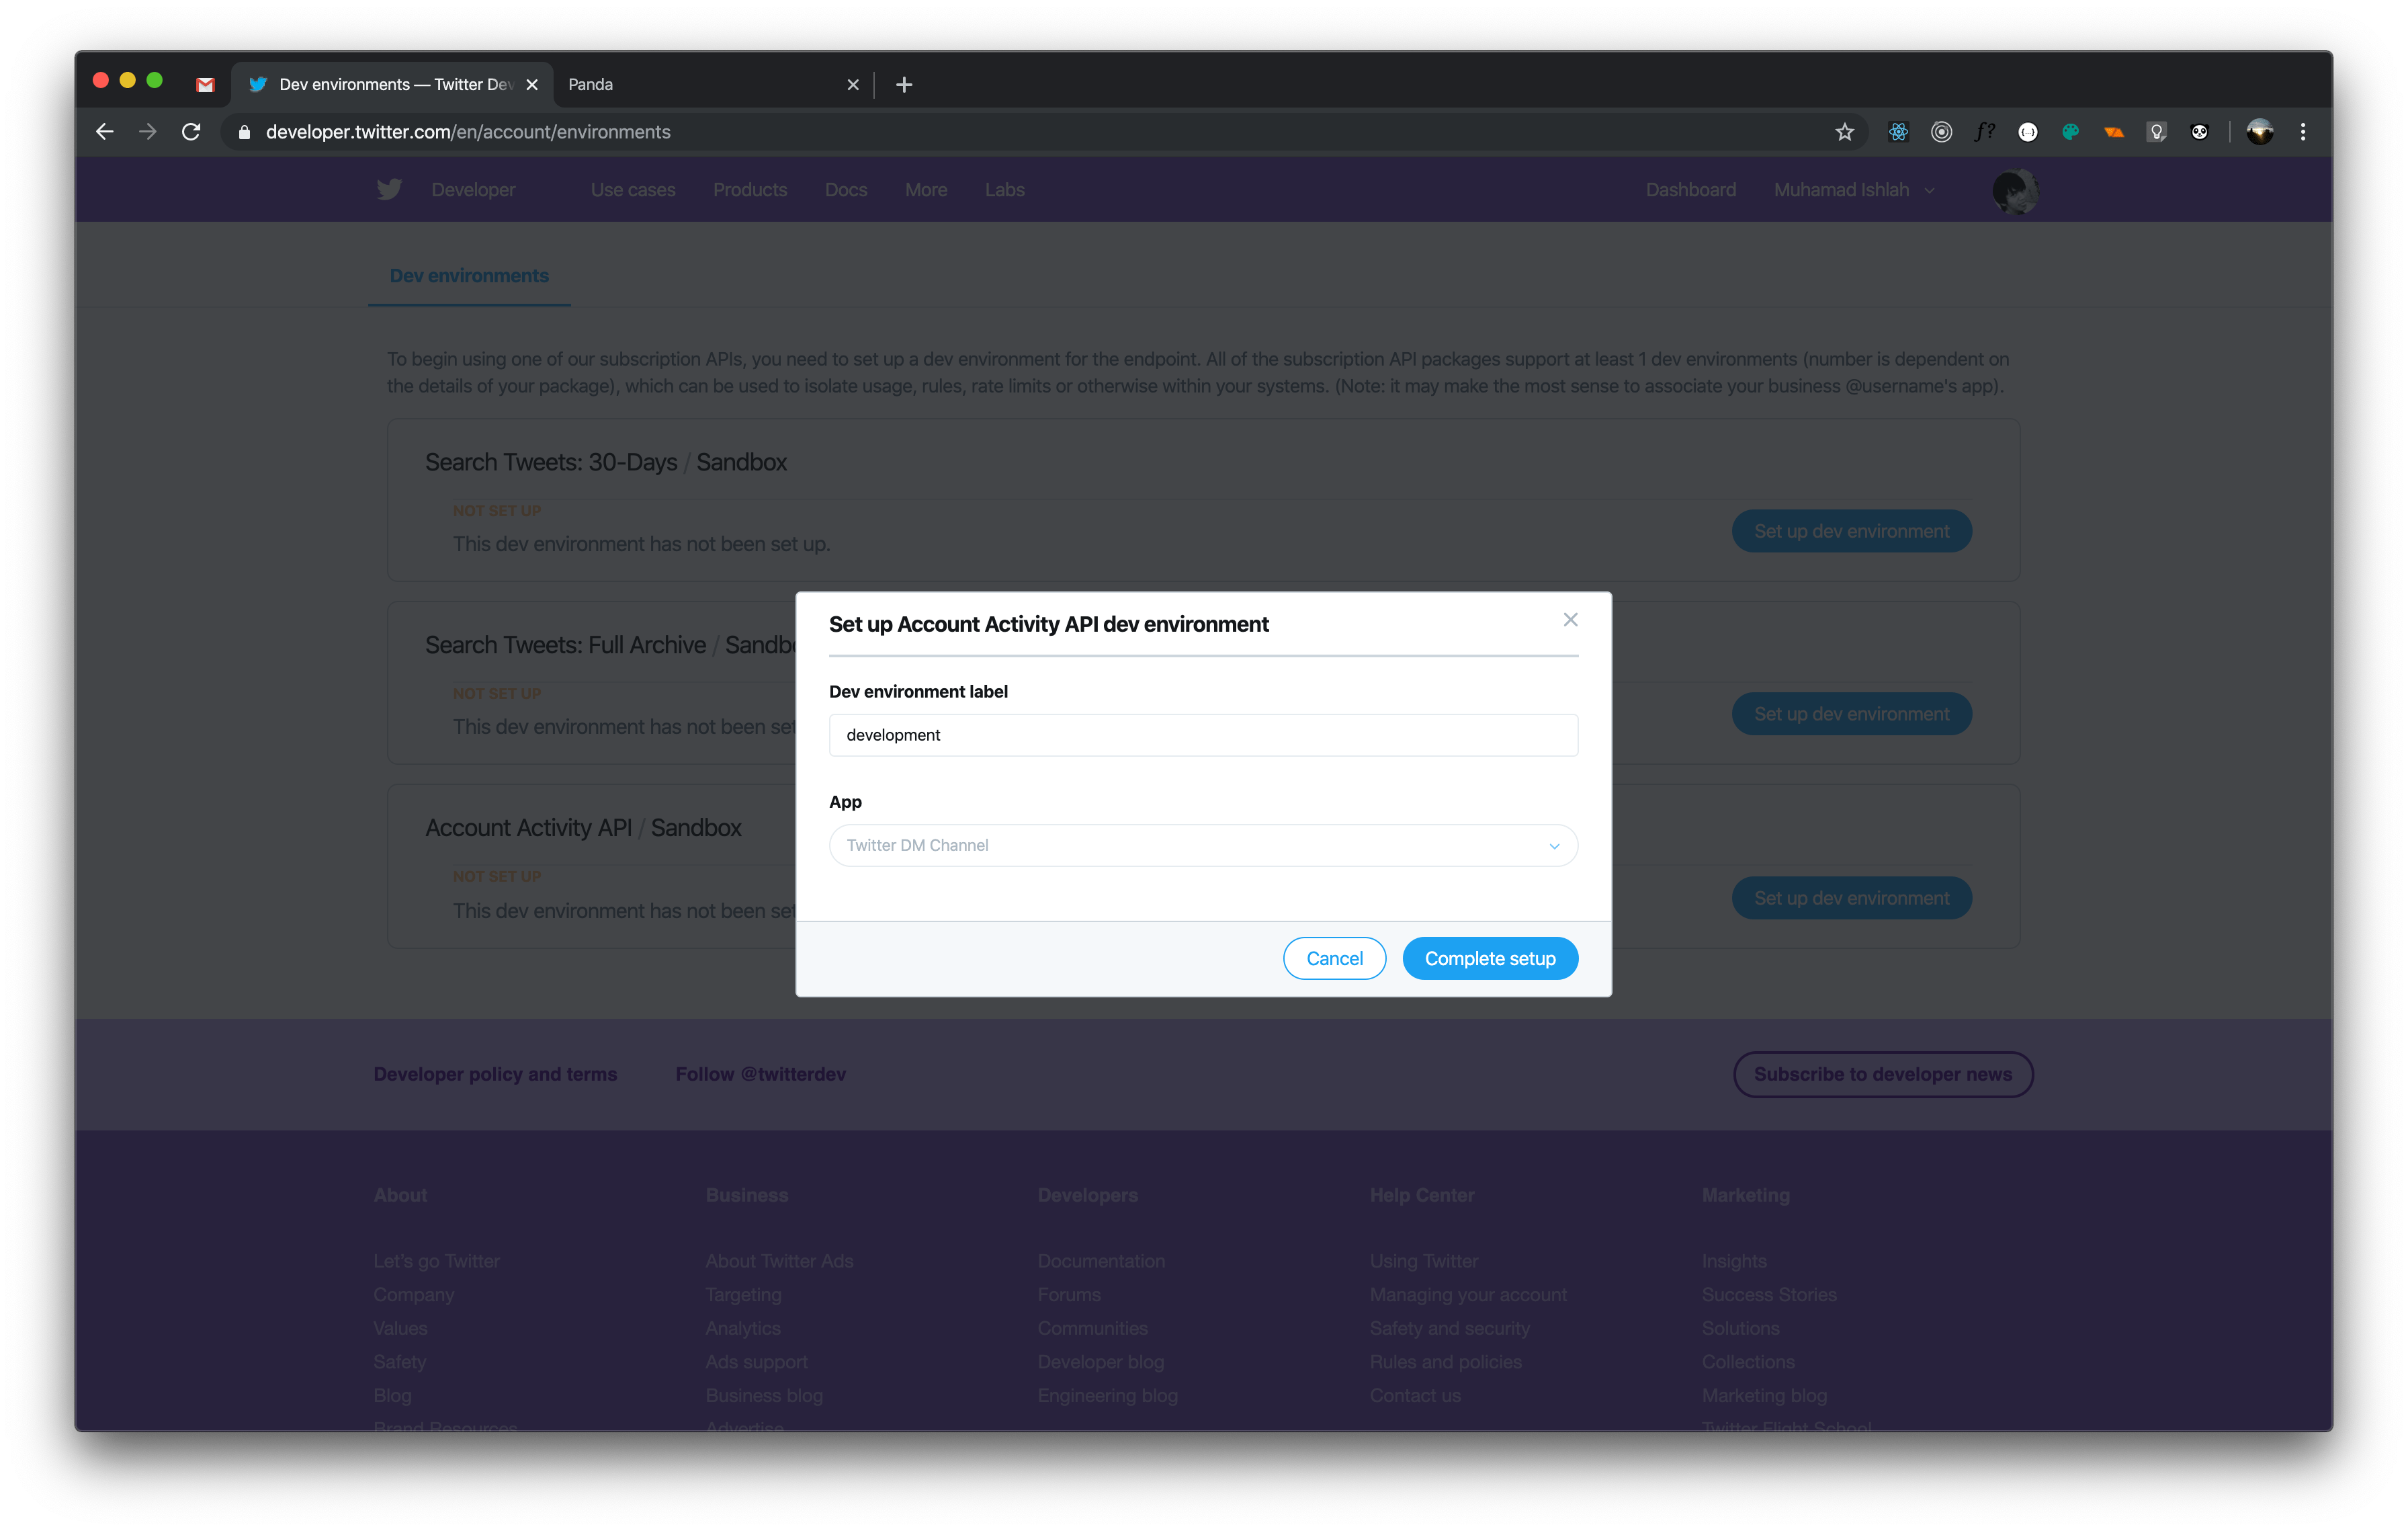
Specify the label you want to use and choose the app we have just created.
That’s all for the Twitter part. Next, we need to set up a new custom channel in the Qiscus multichannel.
Multichannel
If you haven’t signed in yet, please do so now at https://multichannel.qiscus.com and then go to the Integration page:
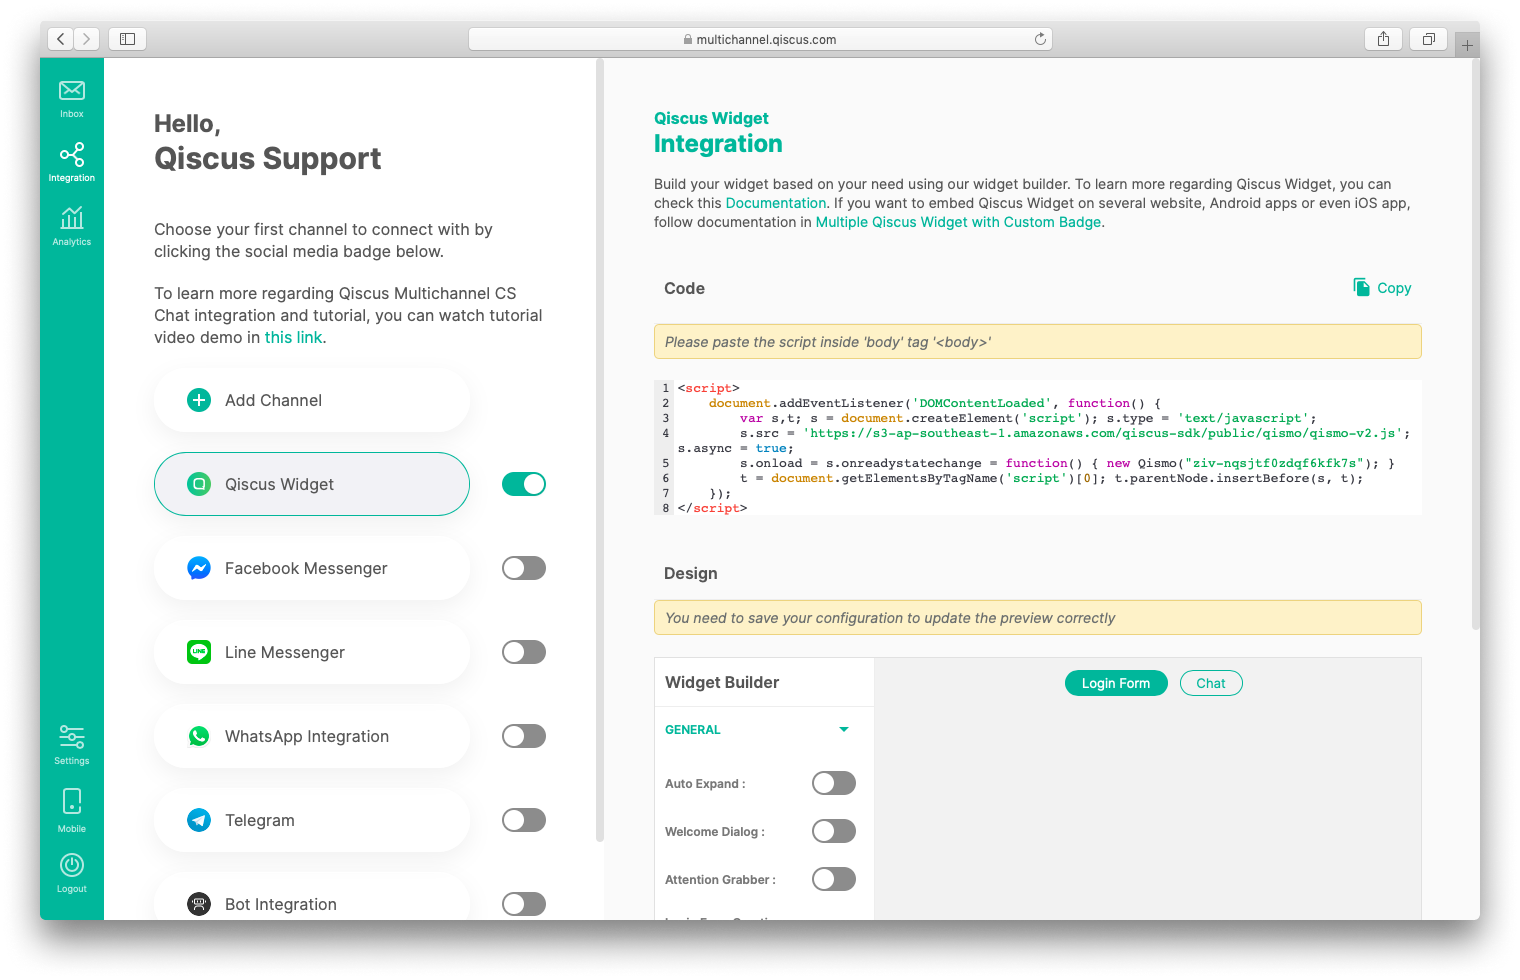
Create a new custom channel by clicking “Add Channel” button.
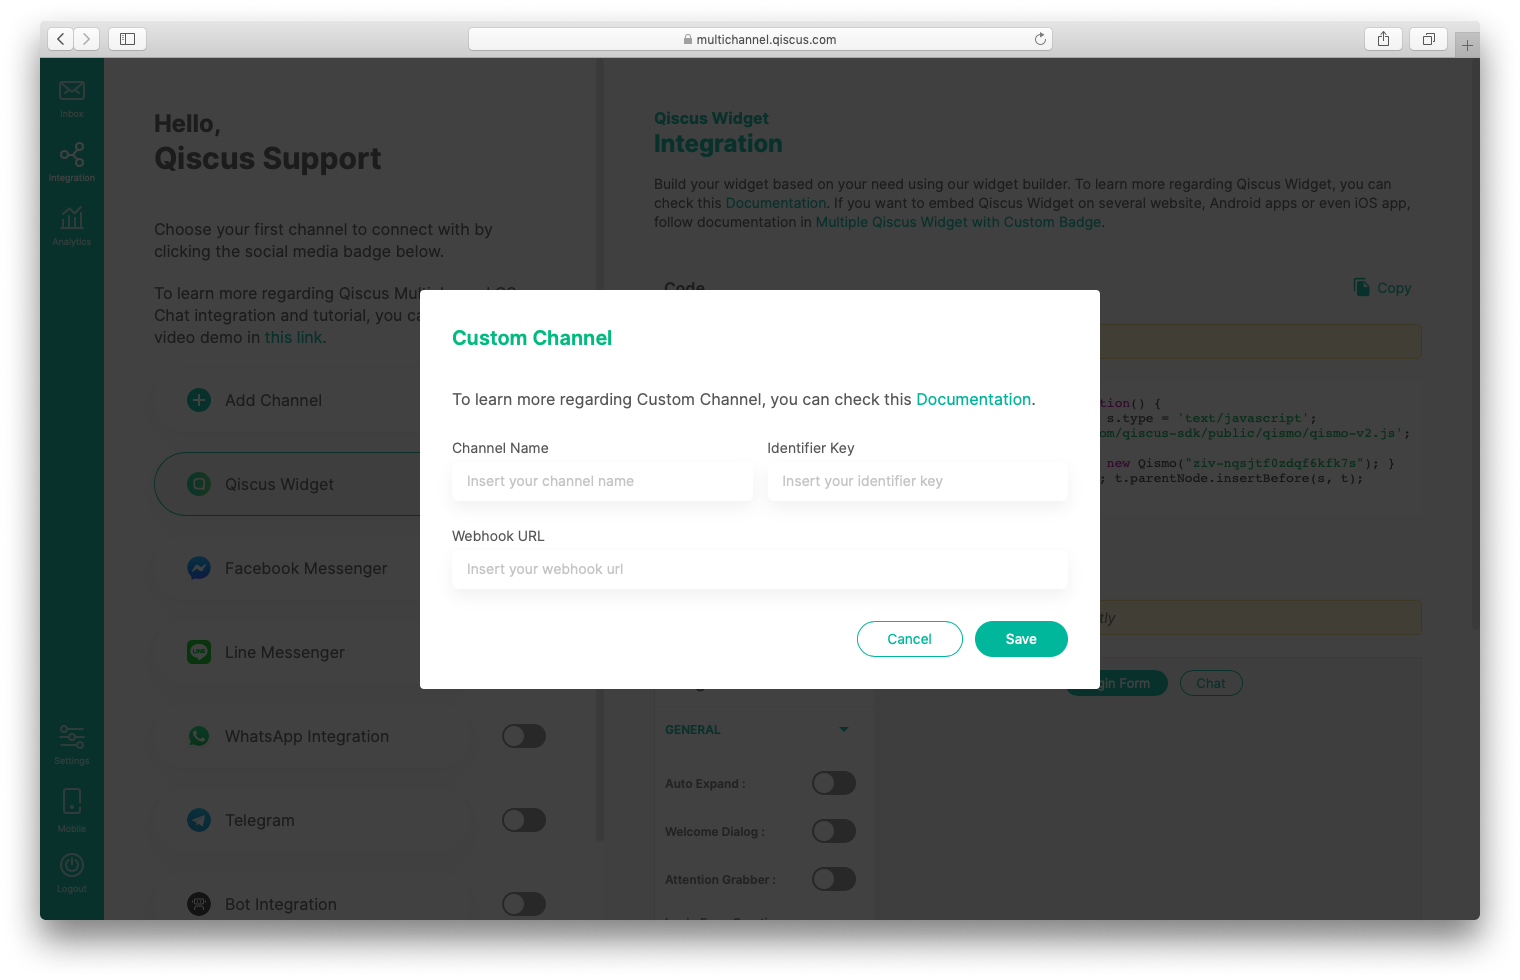
Please specify your channel name and identifier key. You can fill in the Channel name as “Twitter DM”. This name will appear on the channel tab later. As for the Identifier key, you could use anything you want. This key is used to match the source of request coming from your webhook. This is the required param. Finally Webhook URL, this should be your custom channel webhook URL, which is the intermediary service you are going to build.
Intermediary Service Infrastructure
We have already set up Twitter App and Custom channel in the previous steps. So what’s next is to have our intermediary service ready. This service acts as a bridging service that will fulfill the following rule:
- Receive webhook from Twitter DM.
- When your service receives the message, it needs to post the message to Qiscus Multichannel CS Chat with the following format.
Header:
![]()
URL:
![]()
Params:
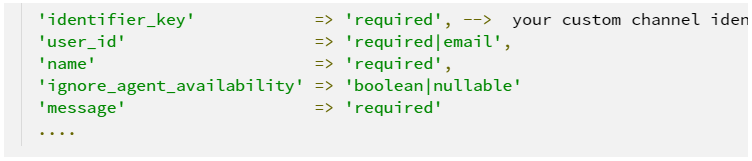
You can check the details at https://documentation.qiscus.com/multichannel-customer-service/customization#custom-channel
In this example, we use AWS Lambda, API Gateway and Python 3.7. You could access the repo at https://bitbucket.org/qiscus/twitter-custom-channel
To deploy the code to AWS lambda:
- The code using chalice as python micro-framework serverless.
![]()
- Chalice provides endpoint URL like https://xxxas.execute-api.ap-southeast-1.amazonaws.com/api/
- Request API to register webhook. Twitter sends message or event to your service in this url. Please note, the endpoint must be “/webhooks/twitter”

- Request API to register webhook. Twitter sends message or event to your service in this URL. Please note, the endpoint must be “/webhooks/twitter”
That’s all.