
After successfully launching the Contact feature, Qiscus Multichannel Chat carried out several developments on the feature to support your customer management activities. Qiscus Multichannel Chat has added Customer Properties and Customer Groups as additional features under Contact.
Customer Properties is the place to store information to represent your customers’ characteristics. You can use Customer Properties to group customers into Customer Groups.
Manage Customer Properties
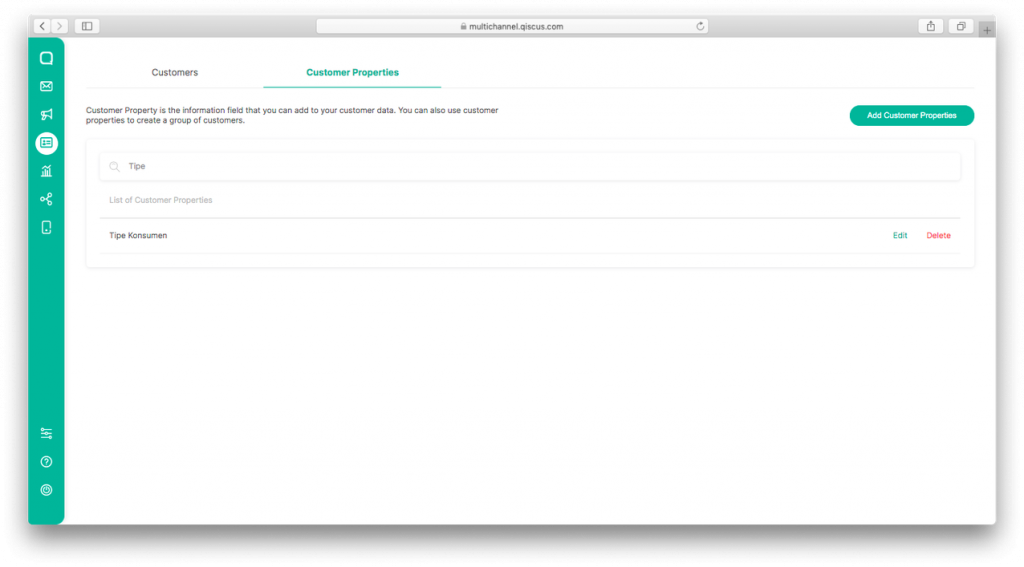
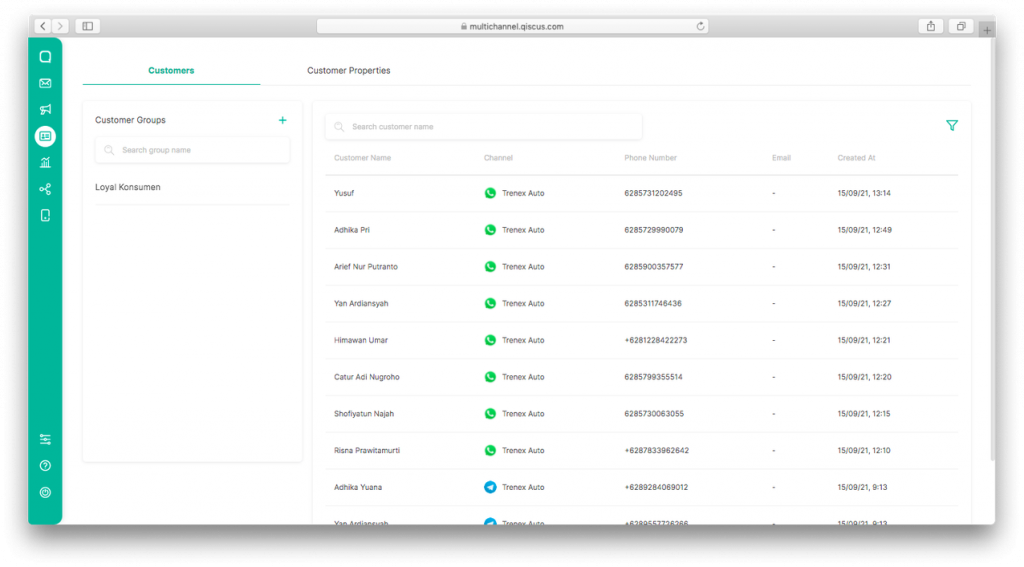
You can view the Customer Properties section under the Contact menu, which contains a list of identities that you can apply to your customers’ data. You can add, change, or remove Customer Properties according to your needs. Follow the steps below to manage Customer Properties:
- Click on Contact in the menu bar on the left

2. Click the Customer Properties tab
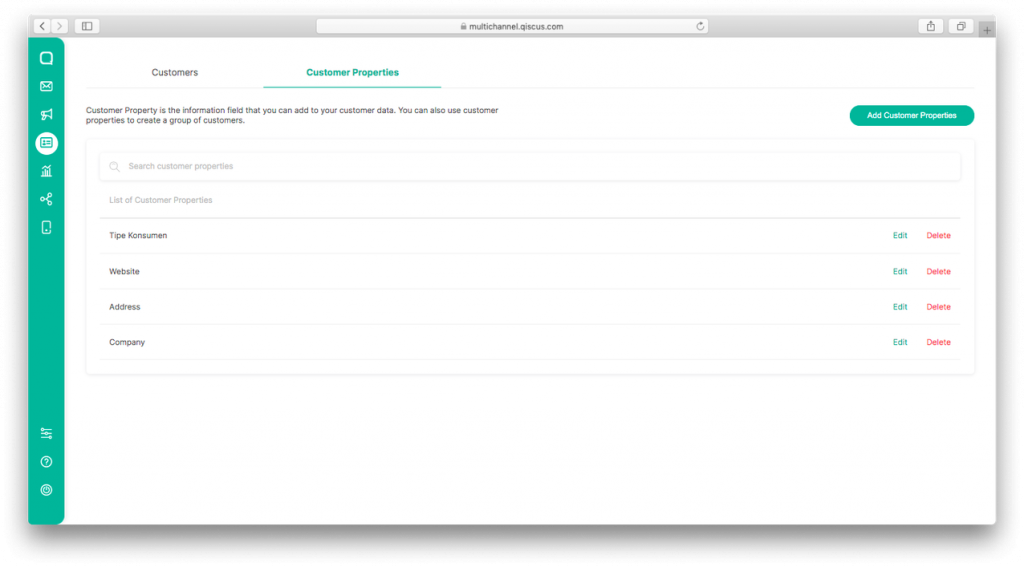
3. Click Add Customer Properties to add a new Customer Properties item
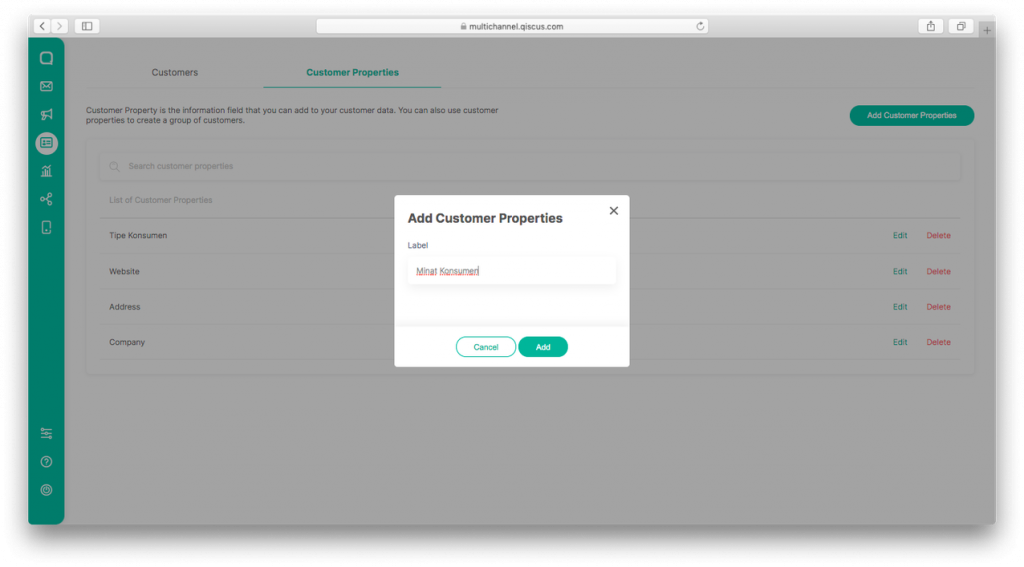
4. Fill in Label from Customer Properties in the dialogue box, then click Add
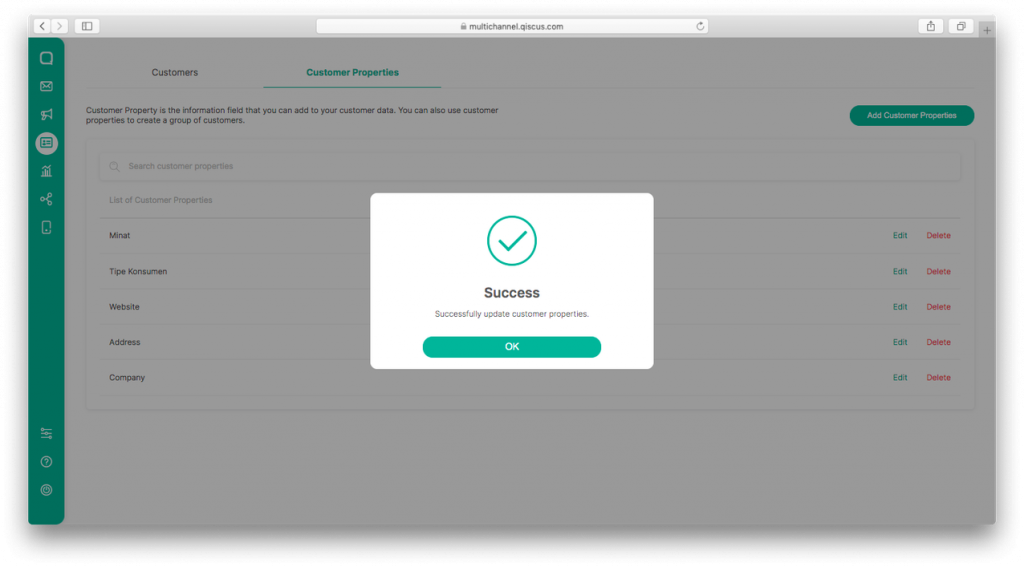
5. Customer Properties have been saved successfully.

6. Click Edit on the line of the Customer Properties item you want to change
7. Change the Label as you wish, then click Save

8. Customer Properties has been successfully changed.
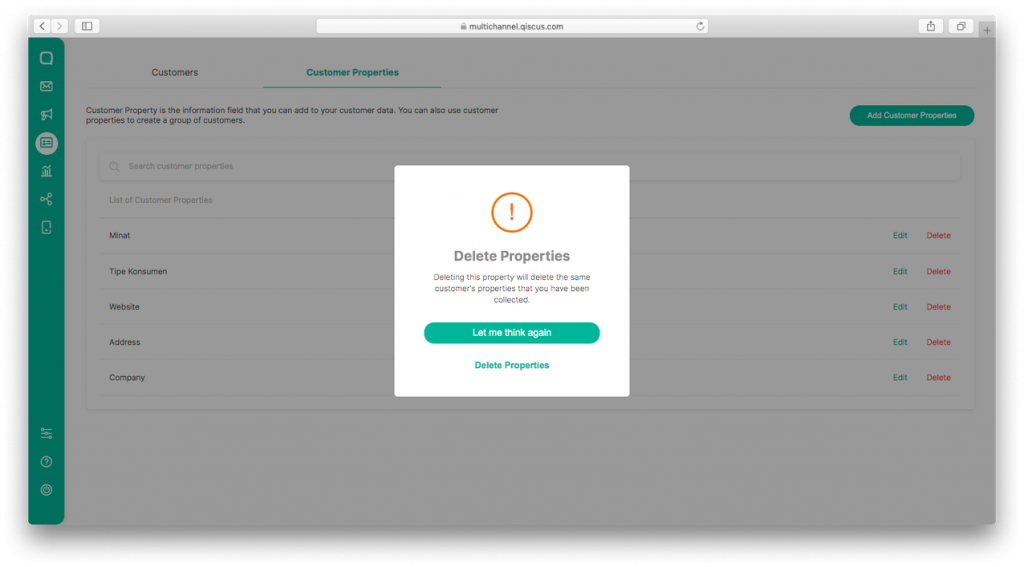
9. Click Delete, to delete the Customer Properties item
10. A confirmation dialogue box will appear; click Delete Properties to confirm
11. In the list of Customer Properties, you can search for items using the keyword label Customer Properties
Managing Customer Properties on Customer Data
You must fill in the Customer Properties value for each of your customer data. You can do this through the following two ways:
- Via Chatroom under Inbox
- Click Inbox on the left menu bar
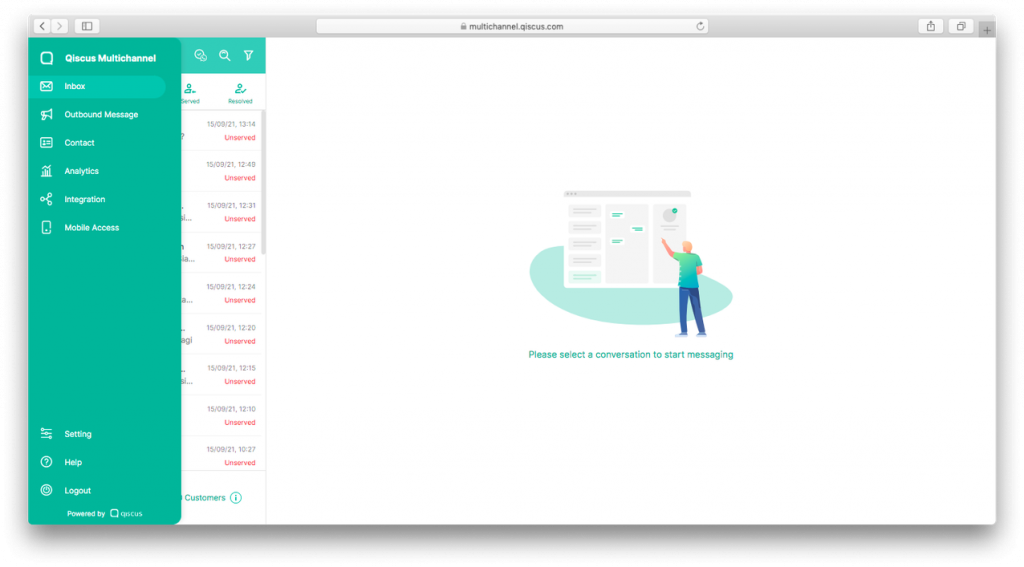
2. Select the room with the desired customer
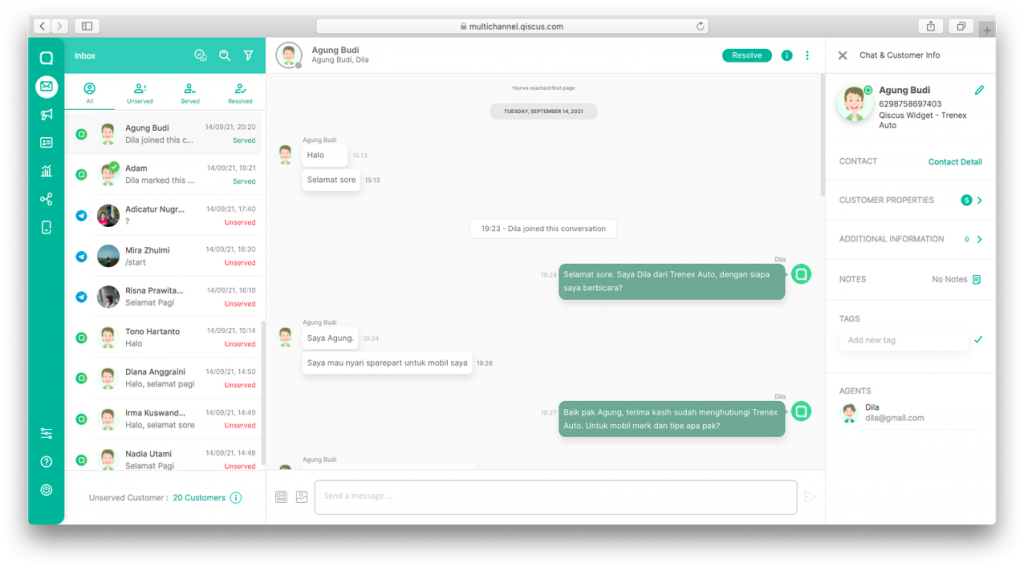
3. Click Customer Properties on the right menu bar
4. Fill in the value of each Customer Properties, then click Checklist
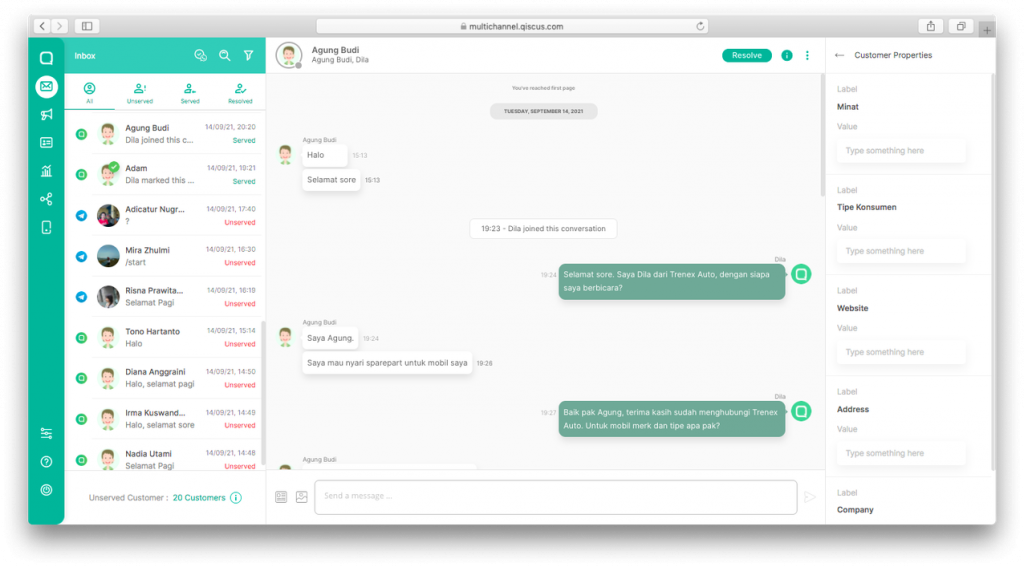
5. If you want to delete the Customer Properties value from customer data, you can delete the value, then click Checklist
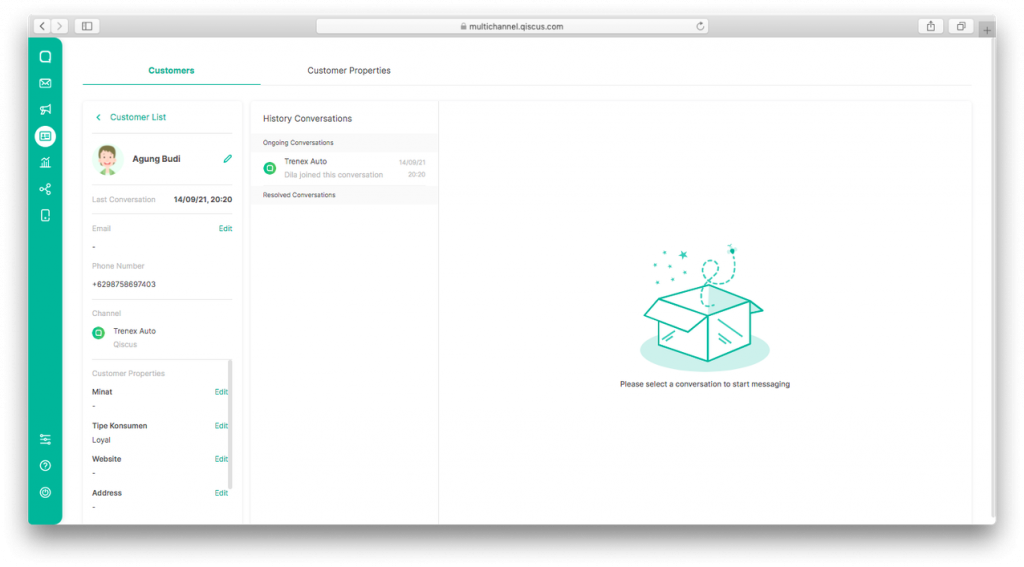
- Via Contact details
To access Contact Details, you can do it in two ways: via the Contact menu or a room from the Inbox.
- Click the Contact Details menu on the right bar

2. Customer Properties can be found on the bottom left
Or,
- Visit the Contact menu on the left bar.
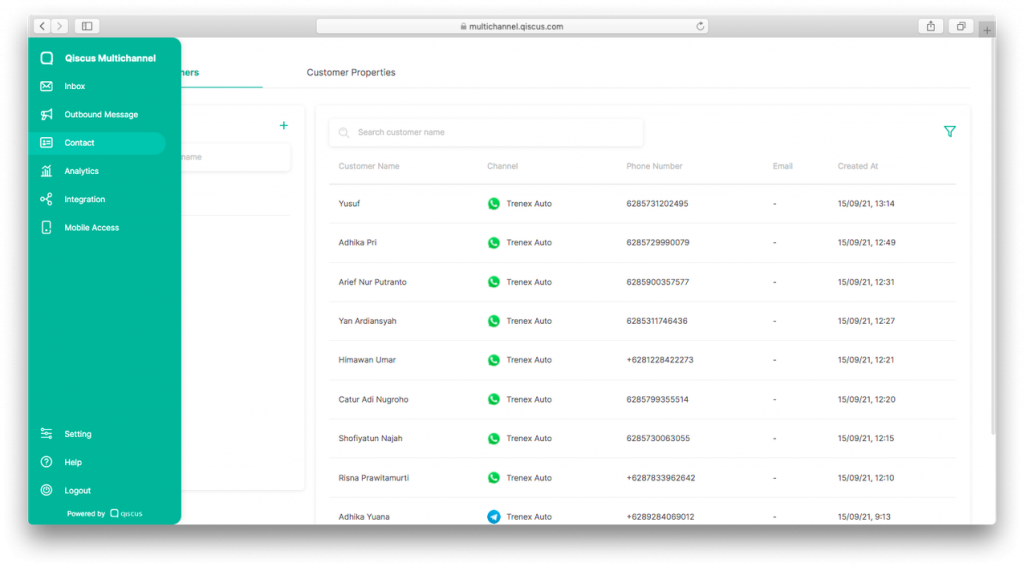
2. Search for customer data by using keywords
3. Click the desired customer on the list
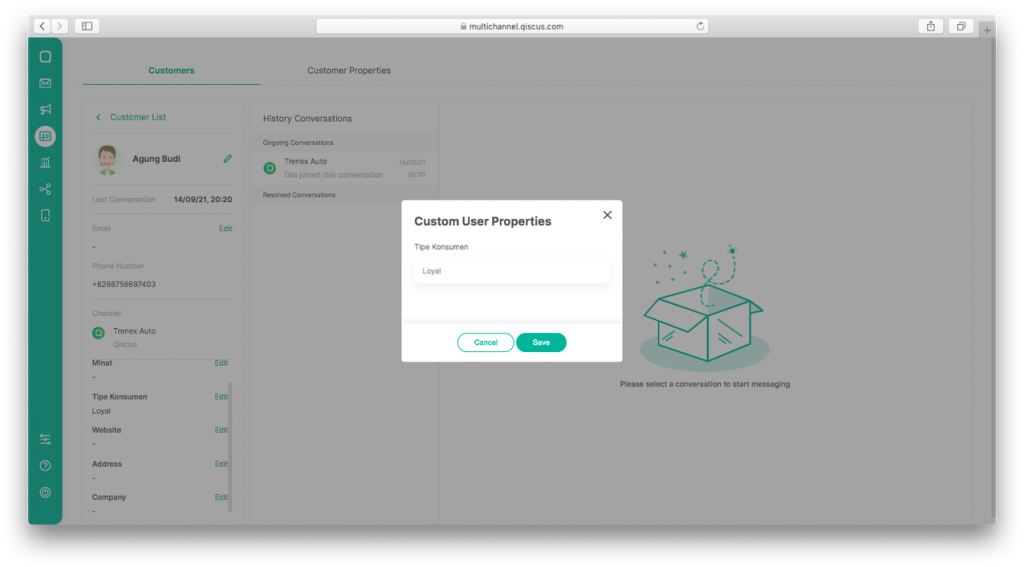
After accessing the Contact Details page, you can follow the steps below to fill in the Customer Properties data:
- Click Edit on the desired Customer Properties
- Fill in the value of the selected Customer Properties, then click Save
Get to Know Customer Groups
Customer Group is a highly recommended feature for businesses which want to further optimize their customer data management functions. This feature allows you to group customers based on their common characteristics. This grouping will help you determine more targeted markets. Before creating a Customer Group on the Contact menu, you will need to understand the following terms:
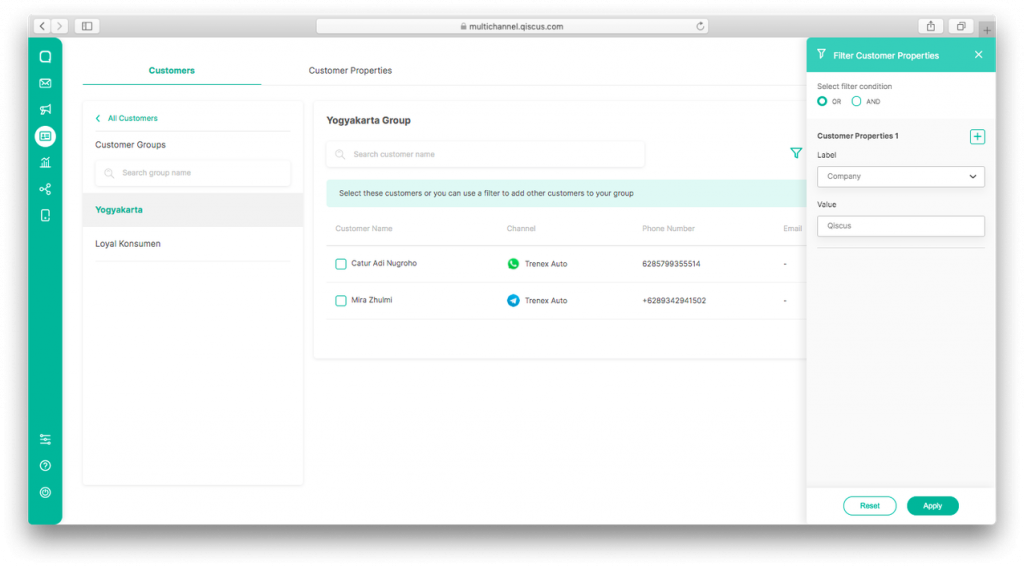
- Filter Customer Properties: A panel that displays various Customer Properties as a condition for filtering the list of customers to be grouped.
- Filter Condition OR AND: A link that can represent conditions used for filtering customer lists. The OR conditional is used when you want to use more than one Customer Properties with filter results, i.e., customers who meet all conditions. If you use the AND conditional, the customer must meet all the Customer Properties conditions.
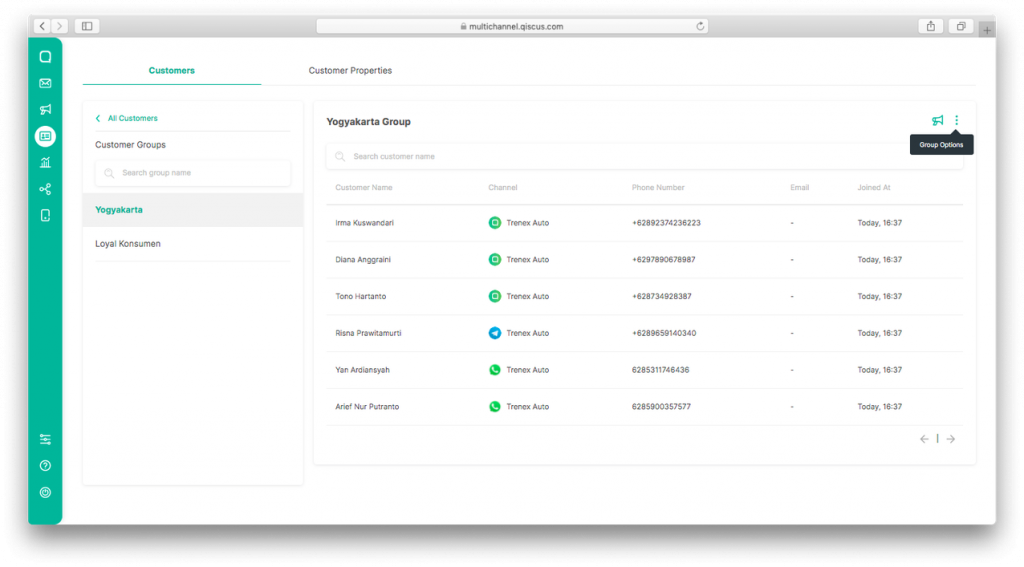
- Joined At: Information when customers join the Customer Group.
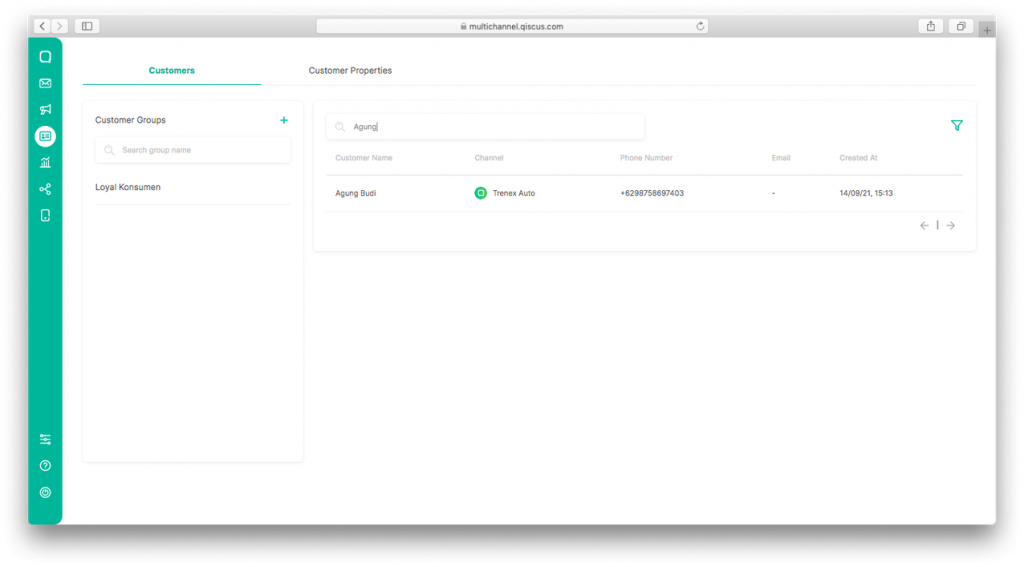
Create a Customer Group Based on Customer Properties
You can group customers together by creating a Customer Group based on the value from the Customer Properties that you previously entered. When customers are grouped, it will be easier to determine proper marketing and sales strategies to approach them.
To create a Customer Group, you will need to access Customer Properties because one or a combination of the values contained in Customer Properties will be a variable which indicates each Customer Group that you create. To be able to use this feature, you must subscribe to the Qiscus Multichannel Chat Enterprise plan. For more details, visit this page.
The steps to create a Customer Group are as follows:
- Click on Contact on the left menu bar

2. Click the plus (+) or Filter sign
3. The Customer Properties filter panel will open
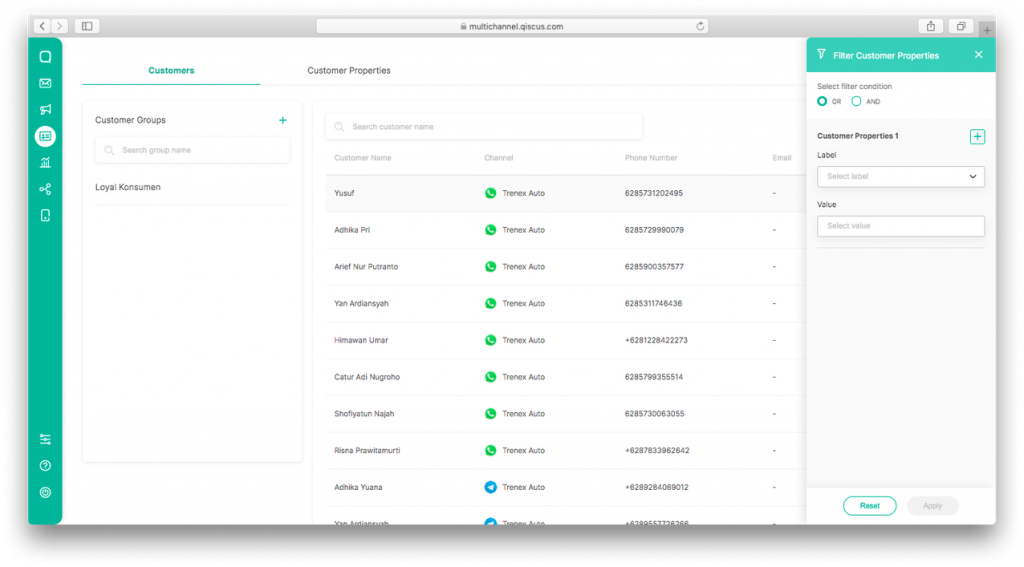
4. Select Customer Properties to filter the customer data that you want to enter into the group you want to create, then click Apply
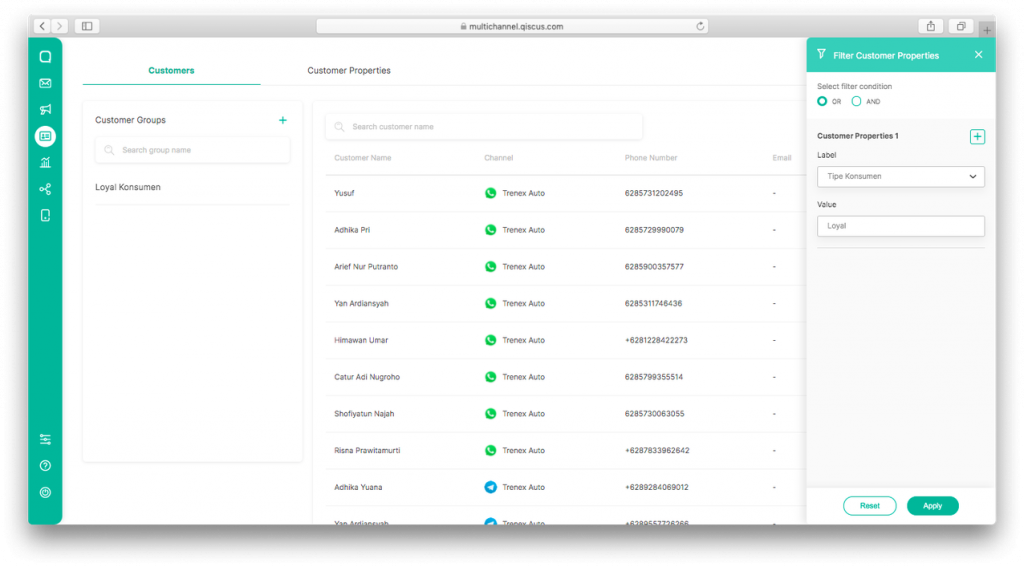
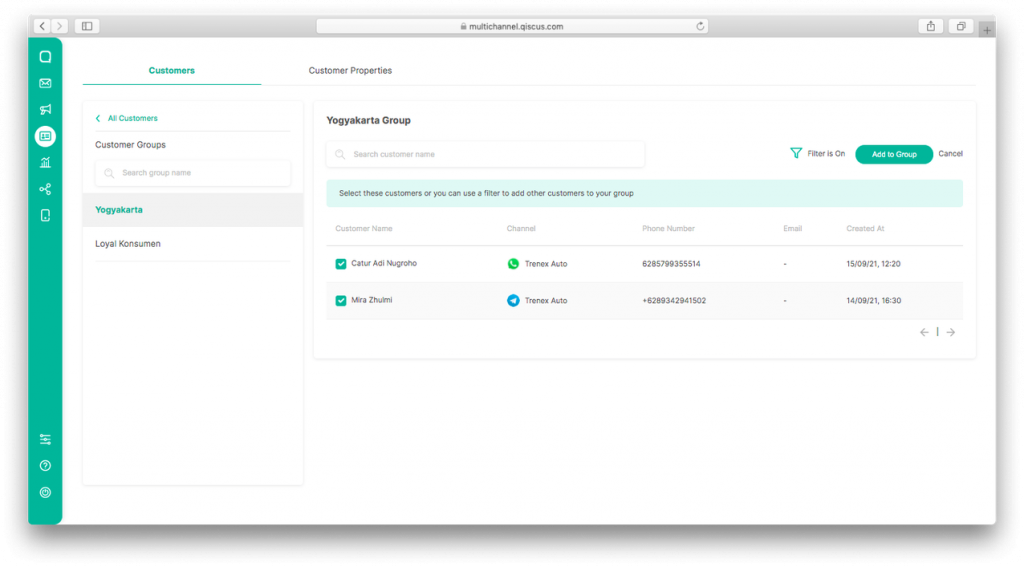
5. The results of the filtered customer data based on the Customer Properties that you applied will appear
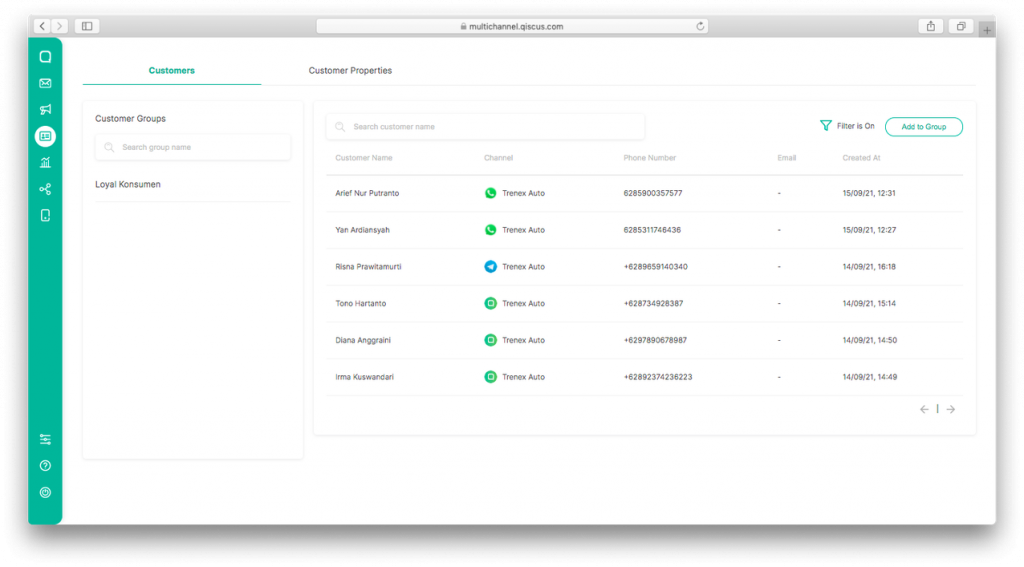
6. Click Add To Group
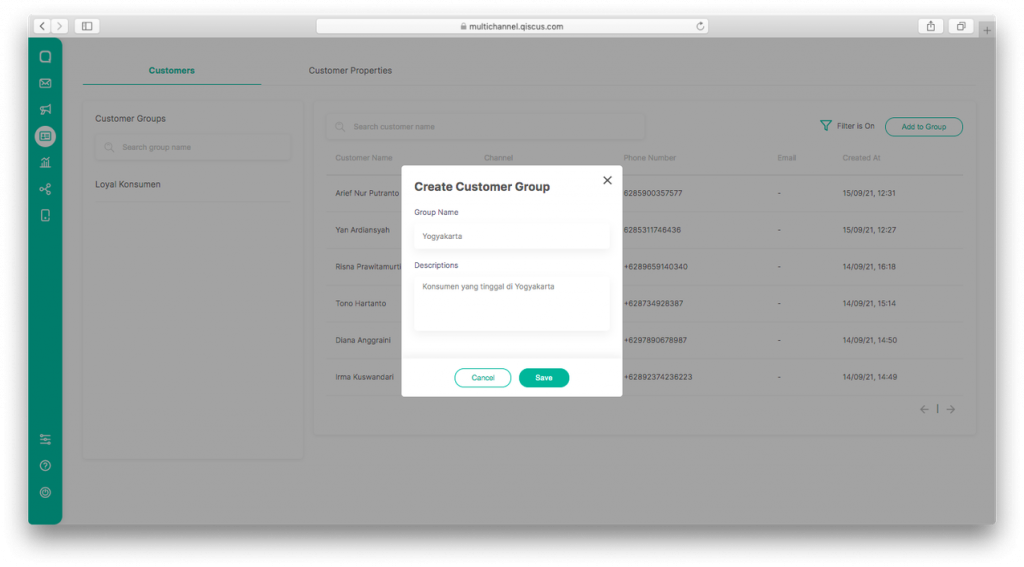
7. Fill in the Group Name and Description, then click Save
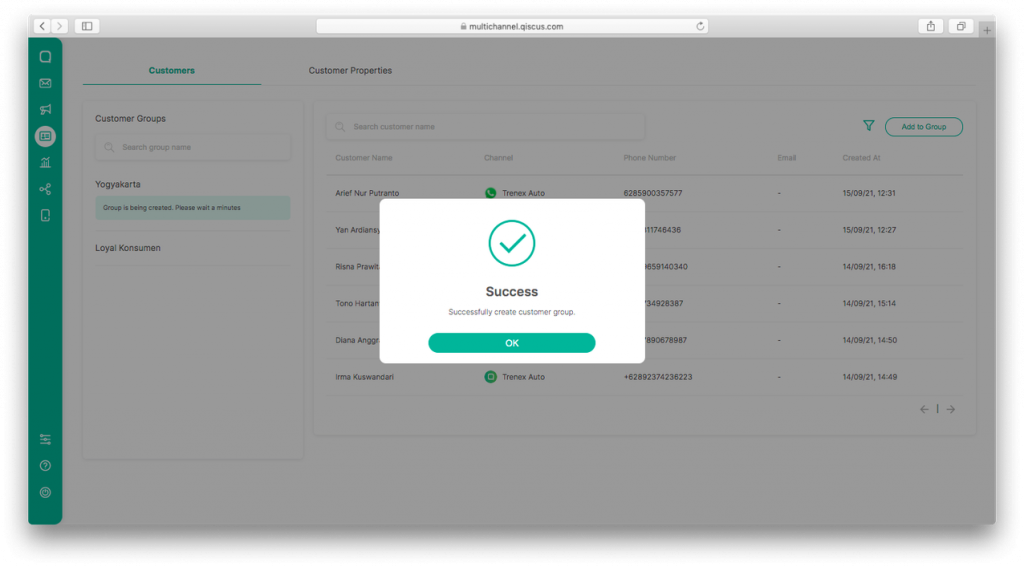
8. The group has been successfully created
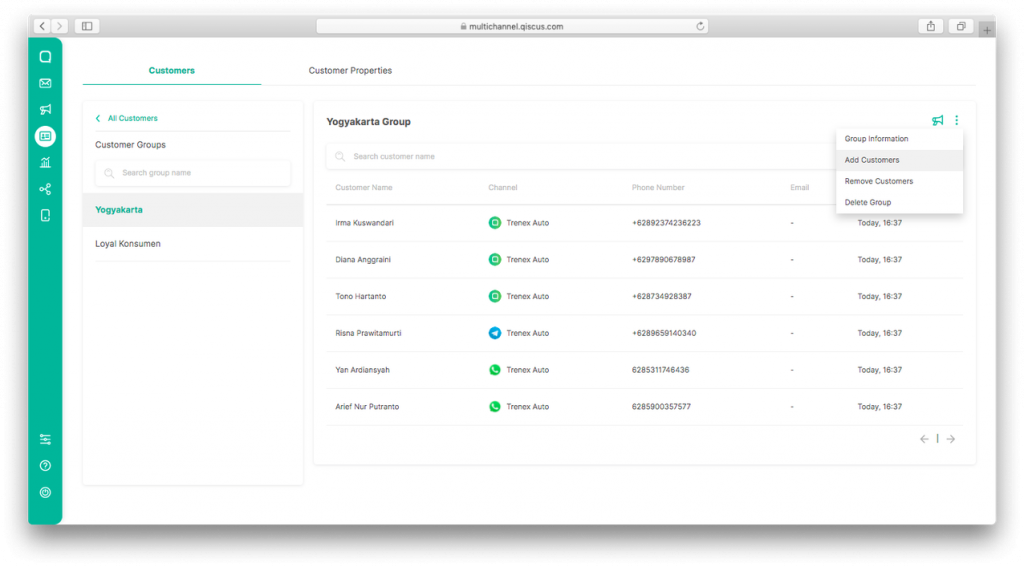
If you need to change the members of a group you have created, you can add or remove them. The steps are as follows:
- Removing members from the group
- On the list of group members, click the three-dot menu at the top right
2. Select Add Customer
3. A list of customers who have not yet been added to the group will appear
4. You can search for it by using the customer’s name as keywords

5. You can also filter by using the filter panel, just like when you are creating a group
6. Select the group members you want to add; you can select one or more members at a time.
7. Click Add to Group
The Importance of Customer Data Management
Management of customer data is one of the most important activities in sustaining businesses. Proper execution will help increase the effectiveness of marketing and sales strategies and bring positive ROI to the business. Contact‘s Customer Properties and Customer Group features will help you organize your brand’s marketing activities with specific targets and characteristics for your marketers. For sales and customer service teams, this feature is helpful to help you create SOPs or provide guidelines for specific scenarios to follow up with customers.
To read more about the above features, you can contact our team via WhatsApp or visit this page.